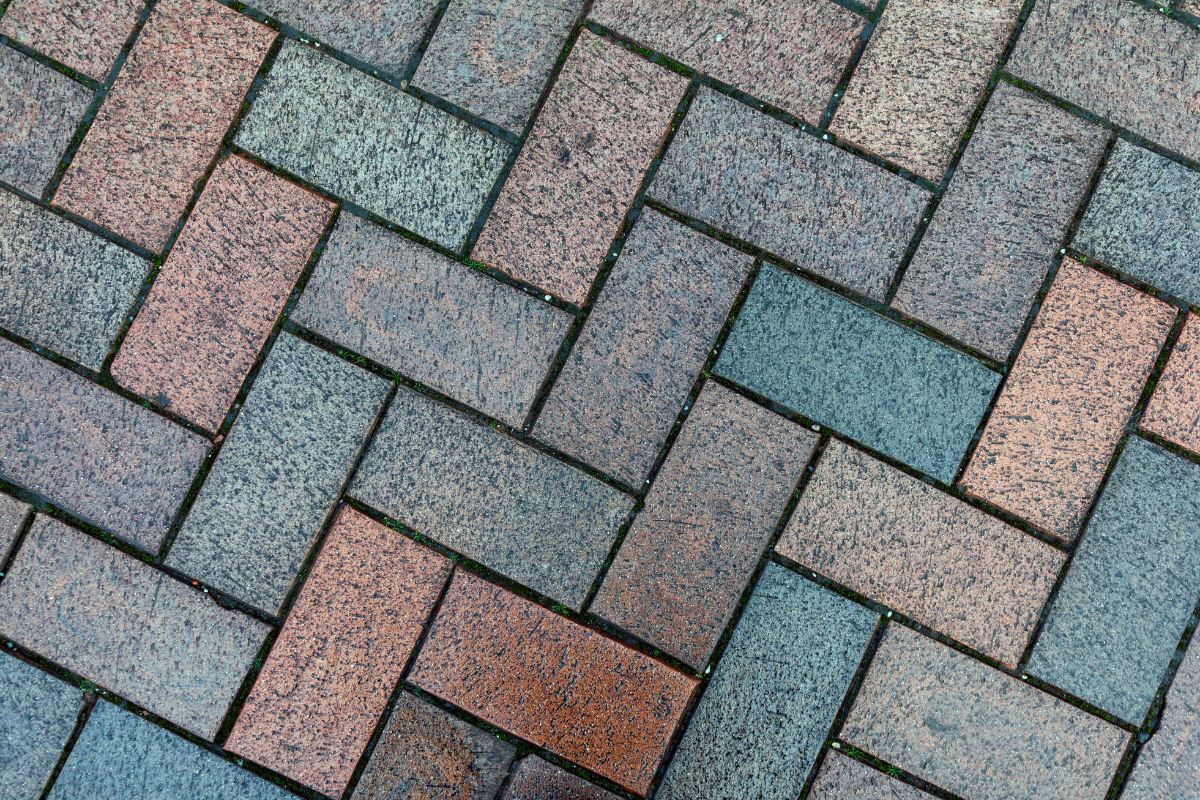
Paver Sealer Dry Times and Cure Times Explained
Pavers look their best after a careful clean and a good coat of sealer. That first day, with color revived and joints locked in, homeowners often want to put everything back in place, park the car, and host dinner on the patio. Then the questions start: how soon is safe, why does the surface feel tacky, and what happens if it rains? Dry time and cure time are not the same, and the difference can decide whether your sealed surface looks perfect for years or needs a costly do-over.
I have sealed thousands of square feet across Florida, from driveway pressure washing in Lutz to washing and sealing around pool decks in Tampa’s summer humidity. The rhythm is familiar: prep well, respect the chemistry, and watch the weather like a hawk. Here is how dry and cure times work in real conditions, not just on a product data sheet.
Dry versus cured, and why it matters
Dry describes the moment the sealer’s surface is no longer wet to the touch. You can usually walk gently on a “dry” sealer without leaving prints. Cured means the film or penetrating treatment has reached its designed hardness and chemical resistance throughout its full depth. Cured sealers resist tire scuffs, hot tub splash, sunscreen, oil drips, and heavy furniture.
Think of drying as water or solvent evaporating out of the top layer. Curing involves deeper processes: polymer coalescence, crosslinking, and formation of a continuous film or a bonded network within the pores of the paver. Water based acrylics coalesce as water leaves and the resin particles fuse. Solvent based acrylics soften and re-deposit resin as solvent evaporates. Two-part urethanes and epoxies rely on chemical reactions that continue long after the surface looks dry.
Walking on a surface that is dry but not cured can imprint fine textures from shoe soles, disturb joint sand, or trap moisture beneath patio furniture feet. Parking on a not-quite-cured driveway can lead to hot-tire pickup, where the rubber lifts the sealer film and leaves dull patches. Those flaws do not always show on day one, but they age badly.
The three clocks running on every sealing job
Every paver sealing project runs on three overlapping schedules.
First, the substrate moisture clock: pavers and sand must dry enough after cleaning that the sealer can bond. Second, the film formation clock: once applied, the sealer needs time for water or solvent to evaporate and for the resin to knit together. Third, the environmental clock: weather, temperature, and humidity either speed or slow both of the above. Respect all three and you avoid whitening, hazing, and delamination.
Professionals who handle paver cleaning in Lutz or similar Gulf Coast climates often stage jobs so that pressure washing happens early in the day, with fans or leaf blowers helping evaporation from joints, then sealing later in the afternoon if the substrate moisture reads within spec. The right pace matters as much as the right product.
Typical dry and cure windows by sealer type
There is no single “right” time, yet after enough jobs patterns become clear. Use these ranges as working expectations, then adjust for conditions and the specific product label.
Water based acrylic paver sealer: Often walk-dry in 1 to 3 hours at 75 to 85°F with moderate humidity. Recoat within 2 to 4 hours if desired. Light foot traffic after 4 to 6 hours, patio furniture after 24 hours, and vehicle traffic after 48 to 72 hours. Full cure typically takes 48 to 96 hours. In sticky summer humidity or when the substrate still holds moisture, tackiness can linger and full cure can push past four days.
Solvent based acrylic: Touch-dry faster in heat, sometimes within 30 to 90 minutes, because solvents flash off more readily. Foot traffic after 4 to 6 hours, furniture after 24 hours, and vehicles after 48 to 72 hours. Risk of blushing increases if moisture is trapped beneath the film, so substrate dryness is critical. Full cure commonly lands around 72 hours, but cool evenings extend that.
Two-part urethane sealers: The pot life and chemical reaction define the pace. Many systems reach walkable status in 6 to 12 hours and driveable hardness in 72 to 96 hours, with full chemical cure in 5 to 7 days. Urethanes handle hot tires better once cured and often give longer intervals between reseals, but they demand tighter prep and mixing discipline.
Penetrating sealers, silane/siloxane blends: Because they absorb into the paver and leave minimal film, they often feel dry to the touch in 1 to 2 hours. They still need 24 to 48 hours to fully react within the pore structure, especially in damp climates. They rarely give a sheen, but they do an excellent job resisting water and de-icing salts on northern driveways.
These windows assume responsible application, meaning thin, even coats, appropriate sprayer tip or roller nap, and attention to porosity. Overapplication slows everything. Coat a dense clay, a sealed travertine, and a thirsty concrete paver the same way, and you will learn quickly why “one size fits all” is marketing, not reality.
Climate is a force multiplier
North Florida in April and the Gulf Coast in August feel like two different planets to a sealer. Temperature, relative humidity, wind, and sun exposure each change the pace.
Warmth helps water based systems coalesce and solvents evaporate, yet above roughly 90°F on the surface you risk skinning and uneven film formation. The top dries too fast while the under-layer stays soft. That mismatch shows up later as blistering or whitening.
High humidity slows evaporation. It can also condense moisture on cooled pavers in the evening, especially near pools. I have watched a patio look perfect at 6 pm, then turn slightly cloudy by 7 am after a humid night. The sealer did not fail; moisture got trapped before the film was strong enough to breathe it out.
Wind is underrated. A light breeze speeds evaporation and helps, a gusty afternoon can flash off solvents so fast that roller marks telegraph and lap lines appear. Shade keeps surface temperatures down but extends dry time. Full sun heats surfaces above air temperature by 10 to 20 degrees and speeds things up, sometimes too much.
In Lutz and similar markets, the rainy season forces tight scheduling. A pop-up shower can erase an entire day’s progress if the sealer has not set. Thin coats and early starts mitigate risk. If you type paver sealing near me or pressure washing service into a search bar and call a pro, ask how they schedule around afternoon storms. The veterans carry moisture meters, check radar, and know when to push or postpone.
The substrate holds secrets
What lies beneath the sealer matters more than most labels admit. Concrete pavers vary widely in porosity. Newer installations can still shed manufacturing dust or release salts as they cure. Older pavers may hold oil stains that keep sealer from settling uniformly.
Pavers near irrigation often wick water up through the base. That moisture shows as a cool reading on an infrared thermometer or as elevated numbers on a moisture meter. Joint sand holds water long after the surface looks dry. This is why washing and sealing is not a single afternoon sprint. If the sand feels damp below the crust, give it time or use air movement to help.
Efflorescence is the quiet saboteur. Those white mineral salts can sit deep inside. If you seal over active efflorescence, it can bloom through the film and create hazy patches. A good paver cleaning routine includes an efflo remover when needed, a thorough rinse, and enough drying time before any paver sealer goes down.
Natural stone like travertine or shellstone behaves differently than concrete pavers. It is denser, often honed, and less thirsty. Heavier solvent based coats on dense stone take longer to release trapped solvent, especially in shaded lanai areas. Here, thin applications and patience are not just suggestions; they prevent weeks of tackiness.
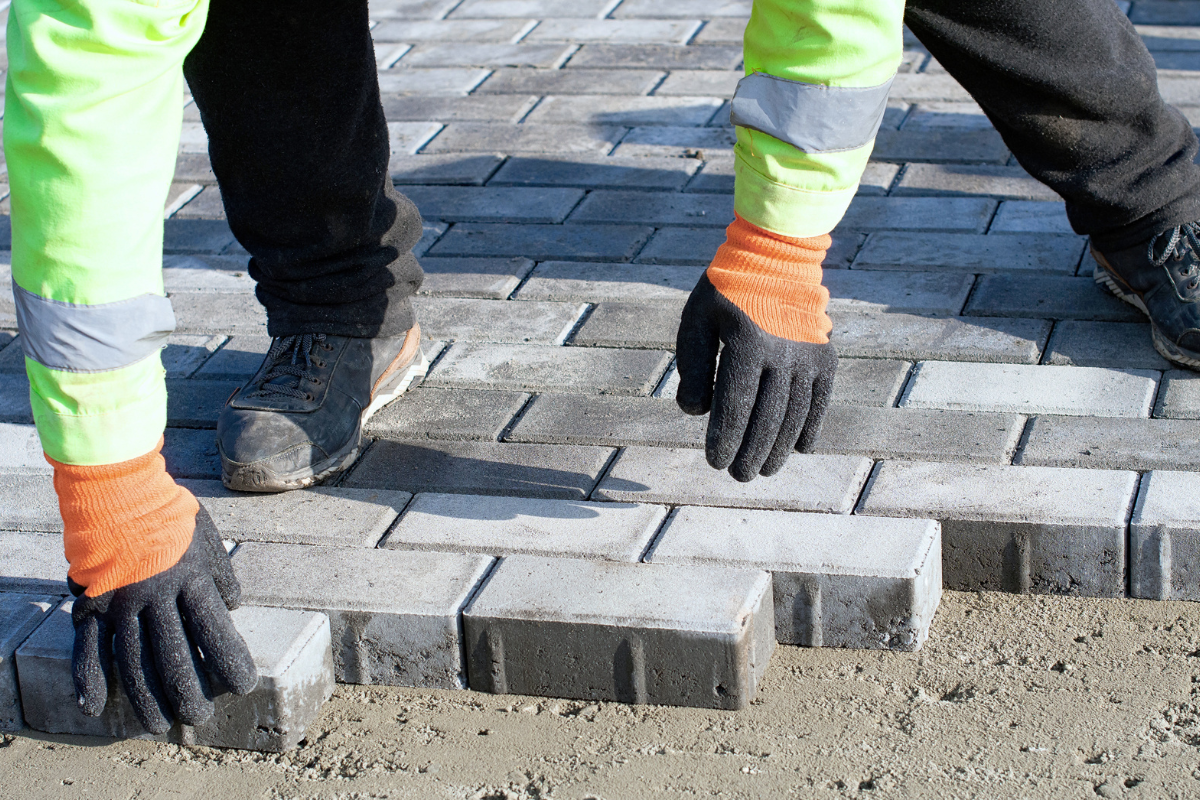
One coat or two, and how that affects the clock
Two thin coats usually beat one heavy coat. The first coat wets the surface and begins to bond, the second builds uniformity and deepens color. Two thin coats dry faster overall because each layer allows evaporation from both top and bottom. A single thick pass looks efficient but can trap moisture or solvent and extend the cure by days.
Recoat windows matter. A second coat too soon can cause roller lift or orange peel. Too late, and the bond may be weaker unless the first coat is lightly reactivated by solvent or scuffed as directed on the label. With water based acrylics, I aim for 2 to 4 hours between coats in forgiving weather. With solvent based products, recoating once the first coat is tack-free but not hard is ideal. If you miss that window, check the label for the recoat method; sometimes a light solvent mist brings the surface back to a receptive state.
Foot traffic, furniture, and vehicles: practical timing
Homeowners want plain guidance. Here is a simple, field-tested set of cues that keeps projects from going sideways.
- Foot traffic: Plan for 4 to 6 hours on a warm, dry day. Walk in socks or clean shoes. Keep pets off until the surface does not feel tacky.
- Furniture: Wait 24 to 48 hours. Use plastic or felt pads to avoid point pressure and sticking. Move pieces rather than dragging.
- Vehicles: Allow 48 to 72 hours for acrylics, 72 to 96 hours for urethanes. In peak summer humidity, add a day.
- Water exposure: Avoid sprinklers and pool splash for at least 24 hours. Heavy rain demands 24 to 48 hours of dry weather for best results.
- Cleaning: Gentle rinsing after 7 days, pressure washing after 10 to 14 days, and only at reduced pressure with a fan tip.
This is one of the two lists in this article. It captures the real thresholds that keep projects safe without a long seminar.
Rain risk and rescue options
Rain is the worry that keeps both DIYers and pros checking the sky. If a shower hits within the first hour on a water based acrylic, chances are you will see whitening or milky patches. Sometimes those clear as the film finishes, sometimes they do not. Light misting with the same sealer, once conditions dry, can re-emulsify the surface and allow it to lay down properly. A solvent based acrylic that gets rained on early tends to blush. Mild cases sometimes respond to a xylene or compatible solvent mist that re-floats the film. Severe cases require stripping and a redo.
If rain is a daily threat, favor earlier starts and smaller sections. Seal what you can confidently protect. A professional pressure washing service that also seals will often stage driveways in halves, keeping an exit lane dry for the household and minimizing exposure.
When the surface stays tacky
Tackiness beyond 24 to 48 hours in good weather means something is off. Common causes: too much product, heavy shade, low temperature overnight, or moisture trapped beneath a dense coat. With water based products, airflow is your best friend. Move air across the surface with fans, open screened enclosures for cross-breeze, and give it time. With solvent based products, a light solvent wash can sometimes release trapped solvent and allow the film to settle.
If tackiness persists after several dry days, testing a small area with the recommended solvent can reveal whether the film is still mobile. A softened test patch that later dries hard is a good sign that time and ventilation will solve the issue. A gummy film that never hardens, especially over joint sand that was damp during application, may need removal.
Hot-tire pickup and how to avoid it
Driveways see the hardest abuse from vehicle tires heated by long drives. A surface that felt fine underfoot can still fail when soft, warm sealer meets hot rubber. Acrylics are most vulnerable in the first week. Steps that reduce risk:
- Keep vehicles off for 72 hours whenever possible. If you must park sooner, keep tires off sealed pavers by using the apron or street.
- If early parking is unavoidable, roll in gently and avoid tight turns or braking on the spot.
- Clean any tire marks with mild detergent after a week, not immediately, to avoid marring a not-fully-cured film.
This is the second and final list. It is brief and focused to respect the limit on lists while offering concrete steps.
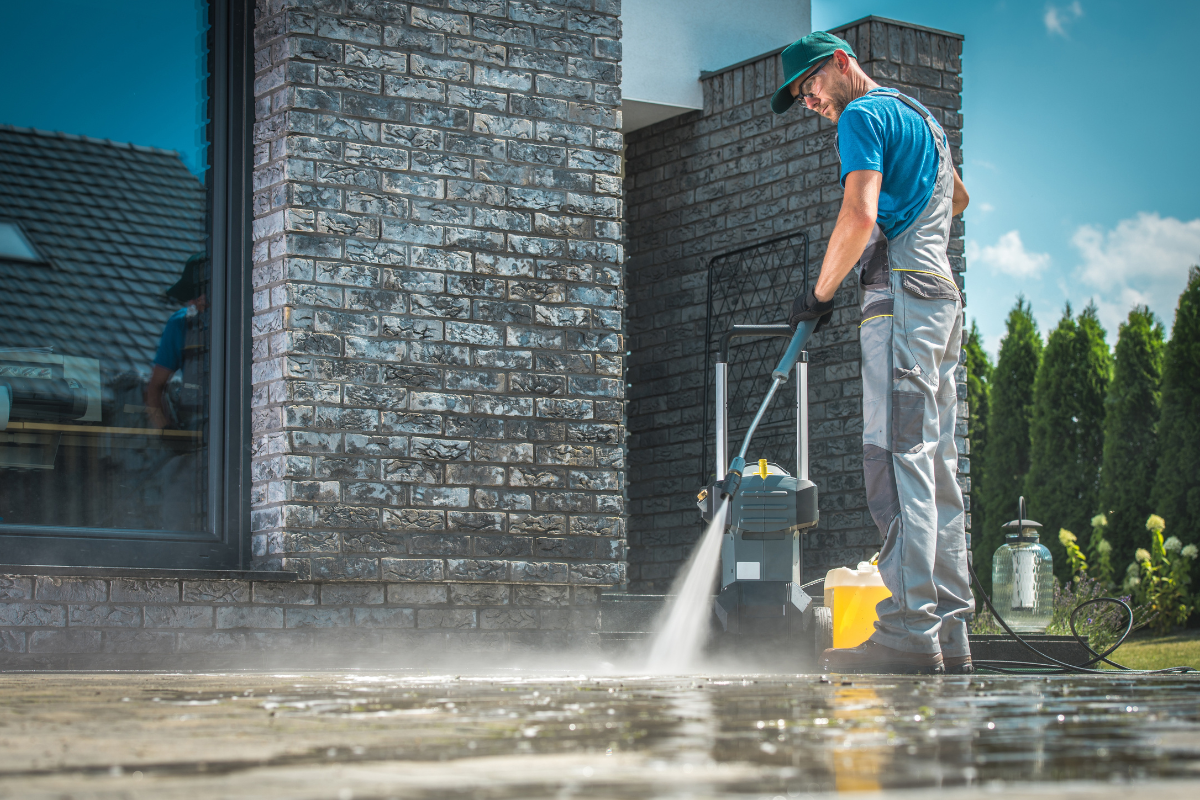
The hidden variable: how the surface was cleaned
Dry time starts long before the first drop of sealer. A thorough clean, done with the right pressure and the right chemistry, sets up everything that follows. Too much pressure scars the paver and makes it more absorbent, which in turn demands more sealer and increases the chance of trapping moisture. Too little pressure leaves biofilm that blocks penetration and weakens adhesion.
Oxidation removers, efflorescence treatments, and degreasers all have residue considerations. Rinse until rinse water runs clear. Flush joints enough to remove fines and contaminants, then replenish and compact joint sand to the designed height, typically an eighth to a quarter inch below the paver edge. Allow that sand to dry through, not just crust on top. A leaf blower helps. On high-humidity days, I give joint sand until the following morning before sealing.
If you searched driveway pressure washing near me and brought in a crew, ask whether they measure moisture before sealing. Pros do not guess; they check. That one step prevents most white-outs and bonding failures.
Product choice and sheen expectations
Homeowners often pick a sealer based on the look on day one. Semi-gloss paver sealing near me Lutz deepens color and highlights the aggregate, while matte finish looks more natural. Sheen affects perceived dry time. Glossy films show streaks and lap lines more easily if they dry unevenly. Matte products hide minor variations and often feel less tacky as they cure because the surface profile is less continuous.
For pool decks, water based acrylics are common because they play nicer around enclosed lanais and do not linger with solvent odor. They can be blended with anti-slip additives without clouding too much. For driveways that see heavy traffic, solvent based acrylics and two-part urethanes hold up better under heat and rubber, as long as substrate moisture is controlled.
Penetrating sealers do not change the surface much and often make sense where slip resistance is paramount, like stairs or sloped walkways. They also dry and cure more predictably in marginal weather because they leave less film on top.
Regional realities: Florida heat and afternoon storms
In places like Lutz, with humid mornings, hot afternoons, and reliable three o’clock showers in summer, timing is half the trade. We often clean in the morning, let the surface breathe through lunch, then seal thin and early in the afternoon window if radar looks clear. Late spring and early fall are forgiving seasons. Winter brings cooler nights that slow cure, so we start earlier and finish coats by midafternoon to avoid dew setting on fresh film.
I have paused a job with only two hundred square feet left because the air turned heavy and the wind shifted. Waiting a day beat chasing blush and explaining white patches. The best paver sealing is part craft, part weather sense.
How to tell if the sealer has cured
Beyond the clock, there are tactile and visual checks. Press a fingernail into an inconspicuous spot. A cured film resists indentation; a not-yet-cured film will mark and slowly rebound. Rub with a clean microfiber. If it drags and feels slightly gummy, it still needs time. Spray a little water and watch the beading pattern. Consistent tight beads with no immediate darkening suggest the film or treatment has set properly.
For two-part systems, the manufacturer’s cure schedule is reliable when mixing ratios are correct and temperatures are within the stated range. If a urethane still feels soft after the stated cure time, suspect low temperatures, high humidity, or mixing error.
Mistakes to avoid that stretch the timeline
Overapplication sits at the top. Applying the first coat heavy to “save time” does the opposite. Trapping moisture in the joints is a close second. Sealing late in the day in shaded, enclosed areas invites dew interference. Skipping surface prep, especially efflorescence treatment on new pavers, leads to hazing that does not driveway cleaning and sealing “dry out.”
Another trap is over-rolling a water based product as it starts to set. The roller lifts semi-dry resin and stipples it across the surface, creating a microtexture that refines slowly and feels tackier longer. With solvent based systems, dry-rolling lap lines into the film can leave permanent bands because the solvent flash thins those areas disproportionately.
Working with a pro versus DIY timing
DIY can work if you respect prep, weather, and product limits. The learning curve costs time. Professionals streamline what you cannot see: they choose tips that deliver the right grams per square meter, they stage hoses so rinse water does not re-wet finished areas, they calculate square footage to the ounce for consistent coats. That precision is why a pro can promise a patio will be ready for furniture by the following evening with confidence.
If you look up paver sealing near me and interview companies, ask for specifics: what sealer system do they use in your microclimate, how long before foot traffic and vehicles, what is their rain policy, and how do they handle a blush or whitening event. A dependable team that handles both pressure washing and sealing will understand the entire chain from cleaning chemistry to cure. They will also steer you away from the false economy of rushing dry times to squeeze a project into a single day when the weather argues otherwise.
A realistic day-by-day timeline for a typical driveway
On a standard 1,000 to 1,500 square foot concrete paver driveway in a warm, moderately humid environment, the sequence often looks like this:
Day 1 morning: Pressure washing and stain treatment. Joints flushed to remove fines and debris. Optional efflorescence cleaner if warranted. Surface rinsed thoroughly.
Day 1 midday: Surface and joints drying with sun and airflow. Moisture levels checked in late afternoon. If joints remain damp below the crust, postpone sealing.
Day 1 late afternoon or Day 2 morning: First thin coat of paver sealer applied. After 2 to 4 hours, second thin coat, adjusting application rate for high-absorption areas. Cones placed, homeowner briefed on access.
Day 2: Surface walkable by morning, but still avoided if possible. No sprinklers, no car traffic. Furniture on patio areas may go back late in the day if conditions were ideal and the product allows it.
Day 3: Driveway typically ready for vehicles if acrylic, Day 4 if urethane or if humidity has been high.
Day 7: Full resilience present. Routine rinsing and light cleaning are safe. For those who plan regular maintenance, this is a good time to schedule the next gentle wash on the calendar, not with high pressure but with a mild detergent and a soft rinse.
Final judgment calls
Sealing is controlled risk. You weigh a forecast, measure moisture, feel the surface heat with the back of your hand, and decide. The best jobs look straightforward because a lot of small choices went right: choosing water based in a screened pool area to keep odor low and dry times predictable, waiting an extra hour for the joints to dry before the first coat, misting solvent to melt in a lap line before it locks, adding a day to keep hot tires off a just-sealed driveway.
If you want a straightforward route, hire a well-reviewed pressure washing service that understands washing and sealing as a single craft. If you tackle it yourself, slow down where the process begs for patience, stick to thin coats, work early, and let weather work for you rather than against you. Dry times are a surface story. Cure times are the deeper tale. Respect both, and your pavers reward you with color, protection, and the quiet satisfaction of a job that looks as good on day 400 as it did on day one.
Bulletproof Pavers
Address: 1523 Green Meadow Dr, Lutz, FL 33549
Phone: (813) 401-0693