Paver Cleaning in Lutz: DIY Toolkit and Supplies List
If you live in Lutz, you learn to respect the mix of sun, sand, and sudden rain that our patios and driveways endure. Pavers here take a beating. Irrigation overspray feeds mildew, sand joints wash out with summer storms, and any bit of shade grows slippery with algae by October. I’ve cleaned, restored, and sealed hundreds of paver surfaces across north Hillsborough and south Pasco, and the difference between a weekend project that lasts and one that fails within months often comes down to the right tools and a measured approach. This guide explains the toolkit I recommend for Lutz homeowners, how to use it without damaging your surface, and where a professional paver restoration services pressure washing service earns its keep.
What makes pavers in Lutz tricky
Our climate pushes pavers through repeated cycles of saturation and heat. The combination creates three consistent issues. First, biological growth. Algae and mildew thrive where irrigation mist keeps pavers damp, especially on older installations with high porosity. Second, joint loss. The afternoon downpours carve channels out of polymeric or standard joint sand, which opens the door to weeds and ant tunneling. Third, efflorescence. Minerals migrate to the surface and leave a pale haze that hides color and dulls the finish. If you plan to apply a paver sealer, any residue of efflorescence, organics, or embedded dirt will show up ten times worse under fresh coating.
Most homeowners start with “pressure washing,” but the tool, the nozzle, and the technique determine whether you’re cleaning or etching. I’ve seen otherwise healthy travertine pitted by a hyper-aggressive tip in under a minute, and standard concrete pavers scarred with wand marks that don’t fade. The right setup prevents that damage.
The DIY toolkit for paver cleaning and prep
I’ll break down the core kit that consistently delivers safe, clean results. You don’t need to buy everything outright. Many items are rentable in Lutz at home centers or local equipment yards. The critical point is matching gear to the surface and condition.
-
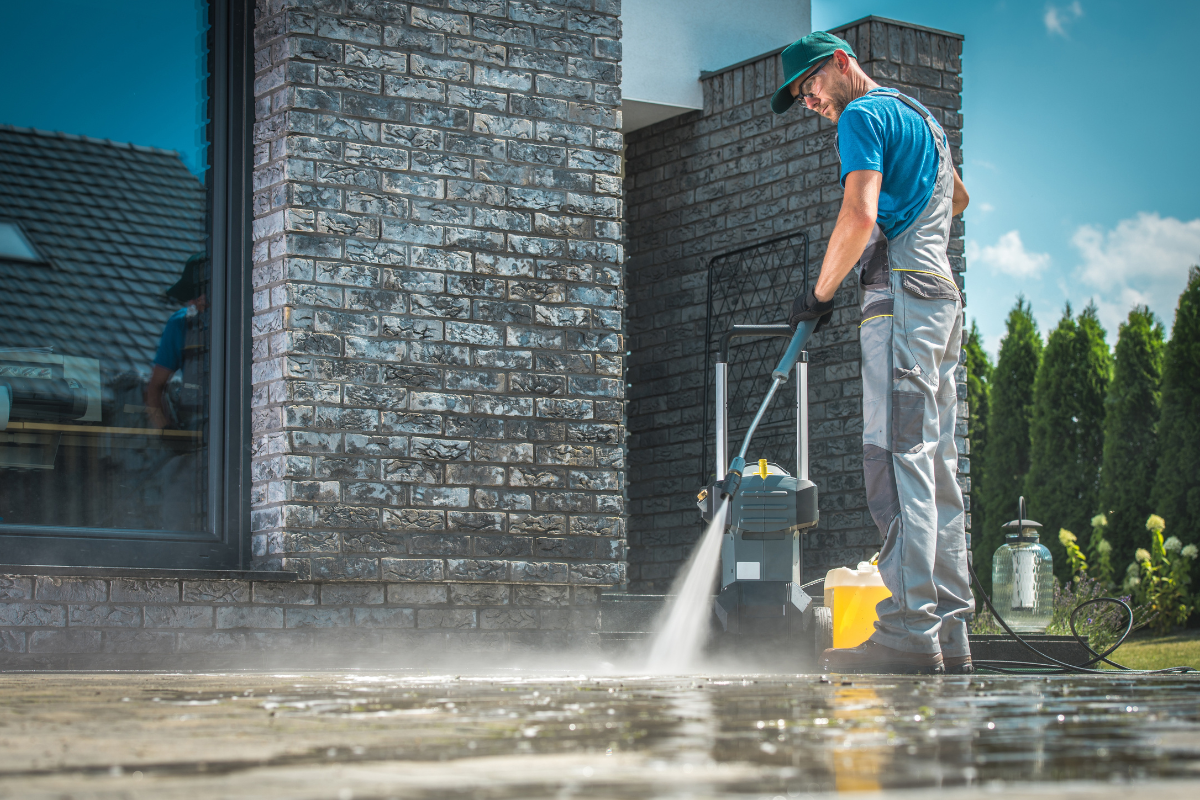
Pressure washer in the 2.5 to 4.0 GPM range, 2,700 to 4,000 PSI, paired with a 15 or 25 degree tip, plus a rotary surface cleaner attachment sized 16 to 20 inches. Flow (GPM) matters more than headline PSI for paver work. A good surface cleaner prevents streaks and speeds large areas, while keeping the nozzle height consistent so you don’t scar the face.
-
Pre-treatment sprayer, either a 2 gallon pump-up sprayer or a low-pressure injector. You’ll use this for detergents, degreasers, and algaecides. Avoid cheap sprayers with metal wands that corrode quickly when exposed to sodium hypochlorite.
-
Detergent kit with three concentrates: a neutral paver cleaner for general soil, a degreaser for driveways with oil spots, and a sodium hypochlorite-based algaecide for mildew and algae. In Lutz, I rarely clean without at least a light SH wash because organics rebound quickly.
-
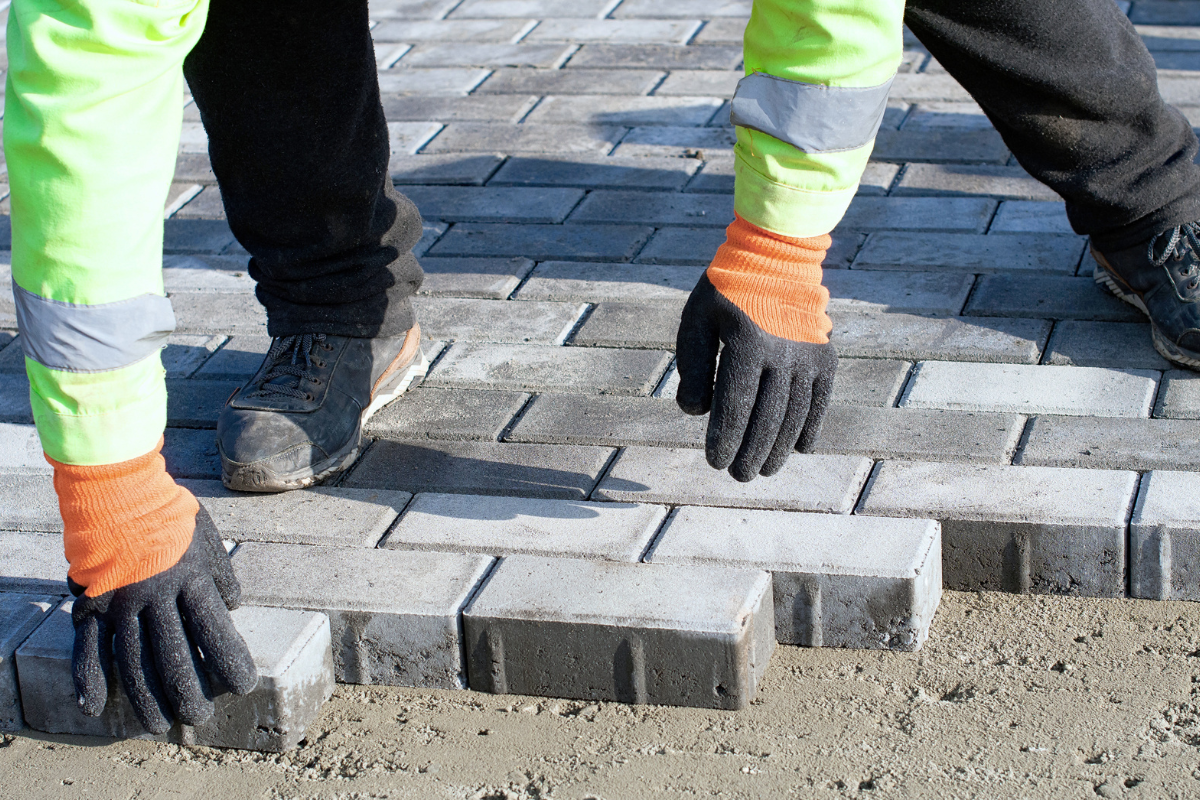
Joint management tools: a leaf blower for drying and clearing grit, a flat broom with stiff bristles, and a handheld or plate compactor if you plan to re-sand. For polymeric installs, have a fine-mist hose nozzle that won’t over-saturate the joints.
-
Safety and protection: nitrile gloves, protective glasses, rubber boots with grip, and board shields or plastic sheeting to cover lower stucco and landscape edging. Hypochlorite overspray will spot plants and aluminum if you get careless.
This setup covers most residential paver patios and driveways. If your pavers are tumbled concrete with deep texture, lean on the surface cleaner first, then a targeted wand pass only where needed. For porcelain or sealed travertine, go gentler on pressure and rely more on chemistry.
The chemistry, and how not to ruin your day
Two rules save time and money. First, test spot any cleaner you haven’t used on your exact paver type. Second, let the solution dwell, don’t push all the work through the tip of the wand.
For algae and mildew, a 1 to 2 percent sodium hypochlorite solution usually handles the job. If you’re using standard 10 to 12.5 percent pool shock, a 10:1 to 5:1 mix with water gives that range. Add a surfactant to help it cling to vertical or textured surfaces. Pre-wet surrounding plants with plain water, apply the solution to the pavers, let it dwell for 5 to 10 minutes, then rinse thoroughly. If organics are heavy, repeat rather than cranking up the pressure.
For oily driveways, start with a degreaser rated for petroleum stains. Apply concentrated on the spots, scrub with a nylon bristle brush, and allow a longer dwell. Heat helps, but most homeowners won’t have a hot water unit. Expect older oil to lighten rather than vanish completely on the first pass.
Avoid acid cleaners unless you know you need them and you’re comfortable handling them. Muriatic acid can burn the face of concrete pavers and can strip color faster than it removes efflorescence. If efflorescence is your target, use a buffered or purpose-built efflorescence remover, follow the label, and rinse generously. More than once, I’ve been called to fix acid-burn rings where someone thought stronger meant better.
Step-by-step workflow that respects Florida weather
Lutz throws curveballs. The same morning you start, a line of showers can develop over the lakes and leave you chasing dry time. Plan your washing and sealing with the forecast in mind.
-
Dry day prep: the evening before, blow off leaves and loose debris. Walk the area and mark any wobbly pavers or low spots. If you plan on paver sealing, choose a 48 hour window without rain, or as close as you can get. Sealer hates trapped moisture.
-
Cleaning day: start early to take advantage of cool surface temperatures, which give cleansers more dwell time. Mask metal fixtures and low stucco bands you don’t want splashed. Pre-wet nearby plants. Apply your chosen cleaner, let it dwell, then rinse with your surface cleaner first. Follow with targeted wand work along edges and corners. Keep the tip moving, maintain a fixed distance, and resist the temptation to “erase” stubborn stains with more pressure.
-
Drying and inspection: after rinsing, use the blower to push out standing water from joints and edges. Look for efflorescence blooms or cookie-cutter marks from the surface cleaner. If you see stripes, they usually come from uneven speed or a clogged nozzle. Address those now, not after you seal.
-
Re-sanding: once the pavers are visibly dry and cool to the touch, sweep joint sand into the gaps. For polymeric sand, run a compactor with a polymeric pad or a sheet of rubber between the plate and the pavers to vibrate the sand down. Sweep clean, then activate with a fine mist of water in light passes. Over-watering polymeric sand creates crusting and washouts, especially on sloped driveways.
-
Sealing window: only when the surface and joints are fully dry do you consider a paver sealer. In our humidity, that can take 24 to 48 hours, sometimes longer for shaded patios. If you trap moisture under sealer, you risk whitening, blistering, or cloudy cure.
Choosing the right paver sealer for Lutz conditions
There is no one-size sealer. The right choice depends on the paver material, your aesthetic target, and the traffic load. I group sealers into three categories: penetrating, film-forming acrylics, and urethane hybrids.
Penetrating sealers leave little to no sheen. They’re breathable, which helps in humid climates where trapped moisture is the enemy. On dense porcelain or tight concrete pavers, they offer stain resistance without changing the look much. They won’t “pop” color like an enhancer, but they rarely blush or turn white after a summer storm.
Solvent-based acrylics, the classic wet look, deepen color and can stabilize joint sand. They also show application mistakes immediately. On driveways, you must balance appearance with the risk of tire marks and hot tire pickup, which happens when soft film meets warm rubber. Water-based acrylics are more forgiving and lower odor, but they still create a film. If you go this route, pick a product rated for vehicular traffic and Florida UV, and apply thin, even coats.
Urethane or urethane-acrylic blends command a higher price but add chemical resistance and durability. I reserve these for customers who demand a very specific finish or have high-traffic entries. They require strict prep and moisture control.
No matter the chemistry, “more” is rarely better. I’ve seen new driveways turned into skating rinks with heavy-handed glossy coats. Two light coats beat one heavy coat. Test a small area first. And if you are searching paver sealing near me because you want someone to handle the finishing step, ask the contractor what products they use and why. The best pros in Lutz can explain the choices without hiding behind brand names.
When to call a pressure washing service instead of DIY
I’m pro-DIY when the conditions are straightforward and you have the time. There are moments, though, when hiring a pressure washing service pays for itself.
Complex stains, such as deep rust from irrigation or battery acid, need specialty cleaners and controlled application. Resetting and compacting pavers after heavy joint loss is a two-person job unless you enjoy wrestling a plate compactor solo. Large driveways benefit from commercial surface cleaners with high GPM machines that produce uniform results quickly. And if you plan washing and sealing on a tight schedule around a backyard event, an experienced crew can compress the timeline safely.
Pricing in Lutz varies by square footage, condition, and chemistry used. Driveway pressure washing near me searches will return a range, but ballpark, a standard two-car driveway cleaning might land between modest double digits to low triple digits depending on severity and add-ons like degreasing or rust removal. Cleaning plus sealing is priced by square foot and product selection, and a reputable company will walk the commercial paver cleaning site and measure rather than quoting blind over the phone.
The fine points that separate good from great
Small methods make the biggest difference. Aim for process control rather than improvisation mid-job.
Water management matters. If your driveway slopes toward the garage, sand and dirty water will try to pool there. Establish a rinse path that pushes toward the street. Use a broom dam or a shop vacuum if needed to keep slurry from drying on doors or walls.
Edges are where mistakes live. A surface cleaner can ride up over the edge of a patio and leave a crescent mark on adjacent stucco or wood. Keep a 6 inch buffer and finish edges with a controlled wand pass. On decorative borders, reduce pressure and rely on dwell time from cleaners.
Shade and sun call for different timing. Chemistry flashes faster on sun-baked pavers. Work in manageable sections so you never let detergent dry on the surface. In deep shade, increase dwell slightly and rinse thoroughly to remove residual surfactant, or you may see a film when it dries.
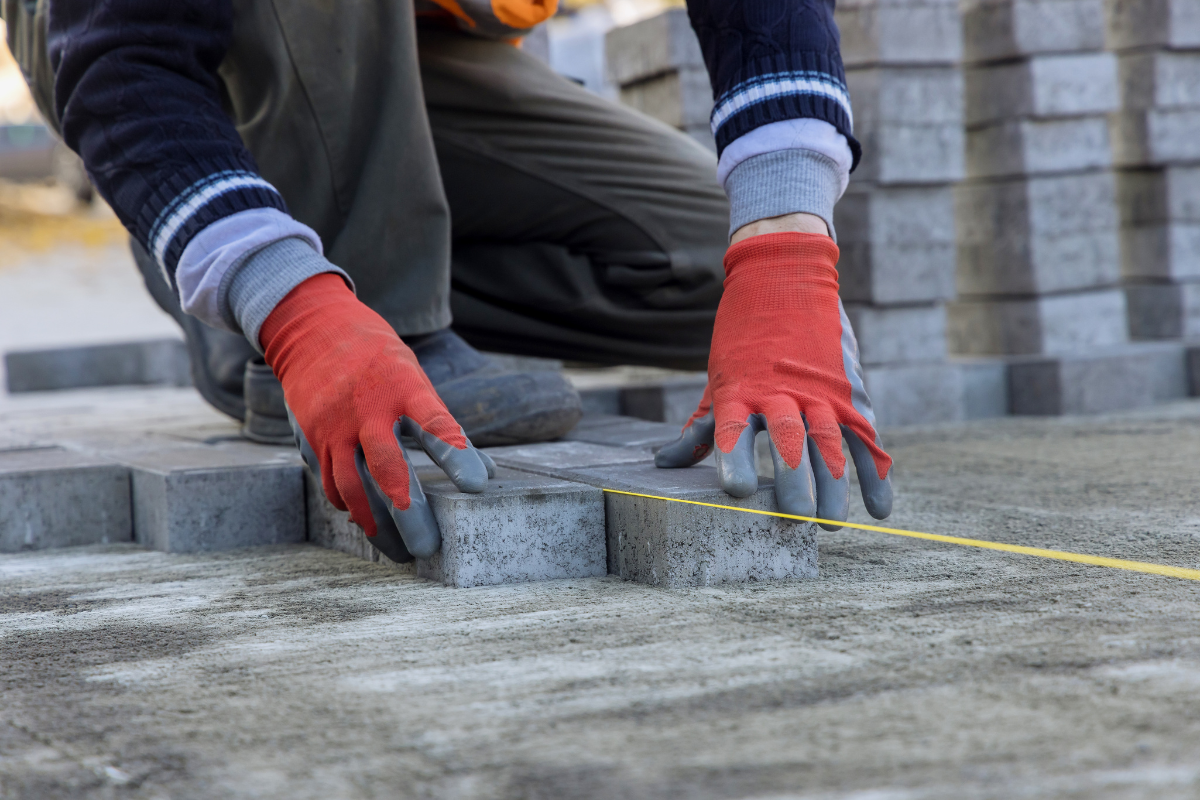
Mind the joints. It’s tempting to blast weeds directly out of gaps. The wand will indeed remove them, along with inches of sand, and you’ll wonder why your patio feels loose underfoot the next week. Cut the weed tops, pull the roots where possible, clean, and re-sand.
Lutz irrigation is notorious for overspray. If you’ve got iron in your well water, you’ll see orange rust blooms near the sprinkler arc. A dedicated rust remover with oxalic or a proprietary acid blend can clear it, but isolate your application and neutralize. Don’t chase rust by upping pressure.
Washing and sealing as a maintenance cycle
Think of washing and sealing as a cycle with a cadence that fits your property. A typical schedule for Lutz:
Annual light cleaning with pretreatment and a surface cleaner keeps organics from taking hold. Re-sand joints as needed, not by the calendar. Heavy traffic areas, such as the apron where tires turn, may need extra sand sooner.
Sealing every two to three years is a workable range for many homes, depending on sun exposure, traffic, and product choice. Penetrating sealers can stretch longer but deliver a subtler effect. Film-formers that pop color may require more frequent refreshing to keep a uniform appearance. Watch for signs like dull patches, sand loss, or water no longer beading.
After sealing, be gentle the first week. Even when dry to the touch, some sealers continue to cure for several days. Avoid pressure washing during that window. If you must clean early, use a garden hose and a soft broom.
Selecting supplies locally and avoiding the wrong ones
You can find decent paver cleaners, degreasers, and polymeric sands at Lutz home centers, but read labels with a critical eye. The word “safe” means little without context. Safe for what material, at what dilution, and with what dwell? I prefer products that building facade cleaning list recommended substrates and provide mix ratios by application.
For paver sealer, sourcing matters. Paint aisles carry general-use sealers that may not be formulated for Florida UV or for driveways that see hot tire transfer. Specialty suppliers in the Tampa area stock regional favorites that contractors trust because they have been field-tested in our conditions. If a product rep can’t answer questions about breathability, solids content, and recoat windows, keep shopping.
Buy more joint sand than you think you need. Re-sanding a patio eats material, especially if you vibrate it down properly. It’s cheaper to return a bag than to stop midway and find the exact blend is out of stock next week.
Troubleshooting common issues
If your pavers look streaky after drying, check for two culprits. One is uneven cleaning from patio and deck cleaning a surface cleaner with a partially clogged nozzle. Replace nozzles in sets and keep spares. The other is detergent that dried before rinsing, leaving a film. A quick re-wash with plain water or a mild cleaner usually clears it.
If you see white blotches under a fresh sealer, don’t panic immediately. Sometimes a light fogging of solvent on solvent-based systems will reflow the surface and release trapped moisture. This is delicate work, and if you’re not comfortable, call a pro. For water-based sealers that whitened due to moisture, the fix is trickier and may require stripping and reapplication.
If polymeric sand crusts or flakes, you likely over-watered or applied in deep lifts. Scrape out the failed sections, re-sweep fresh sand, and activate with a fine mist in passes, letting each pass soak in before the next. Never flood polymeric joints.
If ants return within weeks, you might have voids under the pavers. Ants exploit empty cavities more than soft joints. Re-sanding alone won’t solve that. Consider lifting and correcting base issues in the problem area or consulting a pest control pro along with your paver maintenance.
paver sealer LutzSafety, neighbors, and runoff
Runoff rules matter. Bleach solutions and degreasers shouldn’t flow into storm drains. Create barriers and collect slurry where feasible. Direct rinsate onto your lawn rather than the street, and dilute generously. Tell your neighbors before you start an early morning driveway pressure washing near me session. Surface cleaners make a distinctive hum that carries.
Protect your skin and eyes. Hypochlorite irritation sneaks up on people who wear shorts and skip gloves because “it’s only a light mix.” Rinse shoes and tools at the end so corrosion doesn’t surprise you next time.
Watch your footing. Wet sealer is slick, and even clean pavers can feel like ice when coated with surfactant. Work methodically, maintain exit paths, and don’t back yourself into a corner.
A sample weekend plan for a Lutz driveway
Day one morning, mask nearby surfaces and pre-wet landscaping. Spray an algaecide mix and let it sit while you prep the surface cleaner. Clean in overlapping passes from the top of the slope down. Rinse edges and corners with the wand. Blow out standing water, let the surface air dry under midday sun, then treat any lingering stains individually. In late afternoon, sweep in joint sand and vibrate it down. Lightly mist polymeric sand if used, then let it set undisturbed.
Day two, verify dryness by taping a small sheet of clear plastic to the paver in a shaded spot for a few hours. If no condensation forms, proceed to sealing. Apply a thin first coat with a quality sprayer or roller, let it flash off, then a second thin coat. Keep foot traffic off until it’s dry to the touch, and avoid parking for at least 48 hours, longer if humidity hangs high.
If the forecast shifts and storms threaten, pause after cleaning and re-sanding. It’s better to wait on the paver sealing step than to rush and trap moisture.
Final thoughts from the field
The best paver cleaning in Lutz isn’t about brute force. It’s a sequence: assess, pretreat, clean with stable pressure, manage joints, then seal only when conditions say yes. The toolkit here gives you control over each step and keeps you from chasing problems with more pressure or more product. If you prefer to hand off the job, choose a contractor who explains their chemistry and process in plain language. Search terms like paver sealing near me or pressure washing service will bring up options, but the right team will talk through your surface type, traffic, drainage, and shade patterns before quoting.
Pavers are built to last, but they don’t maintain themselves. A careful weekend once or twice a year, plus thoughtful washing and sealing when needed, will keep them looking sharp through our heat waves and pop-up storms. And when you pull into your driveway after the next afternoon downpour and see water bead and sheet away, you’ll know the kit and the steps were worth it.
Bulletproof Pavers
Address: 1523 Green Meadow Dr, Lutz, FL 33549
Phone: (813) 401-0693