Washing and Sealing: Preventing Weed Growth Between Pavers
Every paved surface tells a story about how it’s been cared for. A driveway with clean joints and a tight, even surface suggests routine maintenance and a thoughtful eye. A patio freckled with moss, sprouting weeds, and grainy sand trickling out of the joints usually means water is getting where it shouldn’t, the polymeric sand has failed, or the sealer has worn off. The difference between those two outcomes often comes down to disciplined washing and sealing, done at the right time and in the right way.
I spend a lot of days around driveways and patios, from paver cleaning in Lutz and the surrounding Tampa Bay neighborhoods to troubleshooting surfaces that have gone a few years without attention. Weed growth between pavers is a universal complaint, but it’s not inevitable. When you understand what weeds need to thrive and how pavers behave over time, you can keep those joints clean with less effort, fewer chemicals, and a longer lifespan for your hardscape.
Why weeds invade paver joints
Weeds do not need much to get started. A thimbleful of silt settles between pavers after a storm, a few seeds blow in, light reaches the joint, and the next rain pulls moisture into that micro-channel. The joint becomes a planter. If the surface slopes incorrectly or the joints lack proper sand, water sits longer than it should. That moisture invites algae and moss, which trap more dust and organic debris. Now the joint has both a nursery and mulch. Left alone, roots can widen the gap, pry at the edges, and eventually loosen the pavers.
Most clients assume weeds grow up from the soil beneath the pavers. Sometimes that’s true when there’s no geotextile barrier or the base was poorly compacted, but far more often the weeds start from the top. The fix is usually above the surface, not below it.
The role of washing in a healthy paver system
Pavers are durable, but they are not maintenance-free. Washing serves two purposes: it restores the surface and joint integrity, and it prepares the substrate for sealing. Done poorly, washing strips too much joint sand, etches the surface, or drives dirty water into the bedding layer. Done well, it removes algae, lifts contaminants, and preserves the structure.
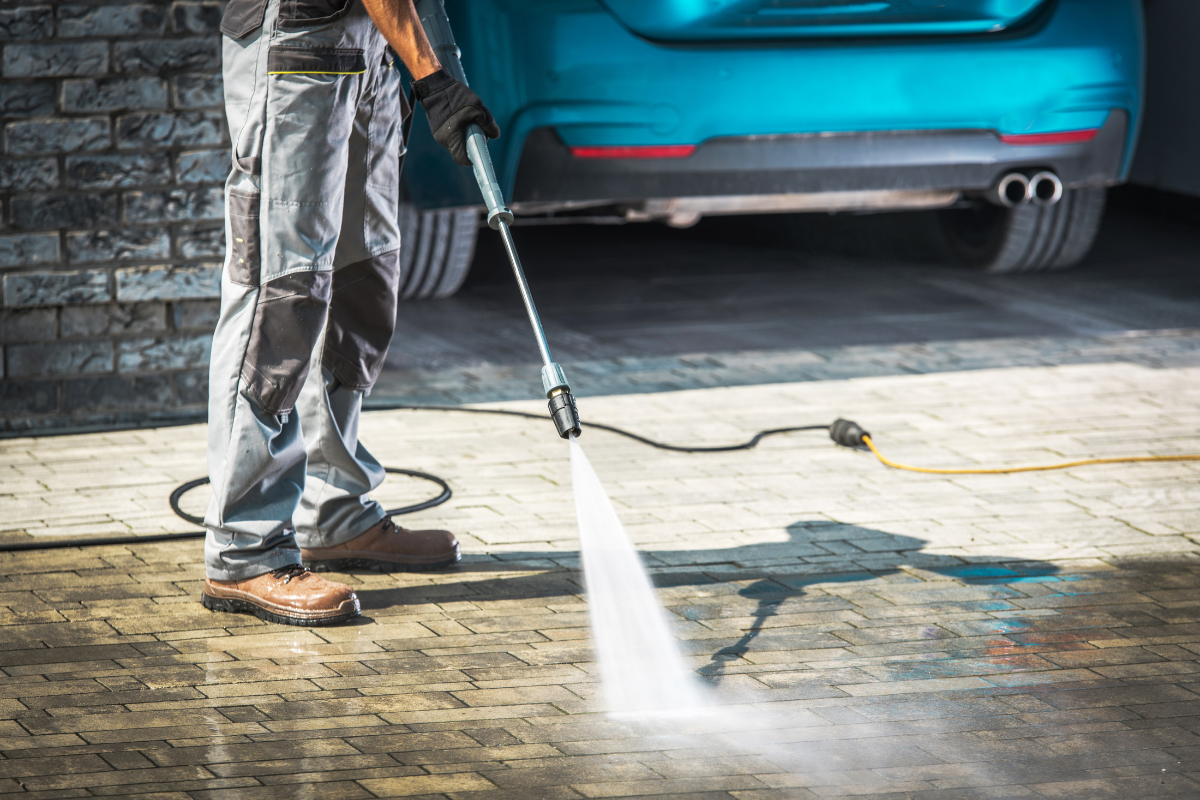
When someone searches for driveway pressure washing near me or a pressure washing service to handle a patio, the variable that matters most is method. The machine’s PSI is less important than technique and tip selection. On most concrete pavers, a 15-degree tip with a controlled fan and a working distance of 8 to 12 inches is sufficient. I rarely exceed 2,500 PSI on older pavers unless I’m testing a small inconspicuous area first. Pavers vary by manufacturer. Some are denser than others, and tumbled textures hide cleaning marks better. Smooth pavers show every flaw.
Detergents matter. Most of the graying on paver surfaces comes from algae and biofilm, not just dirt. A mild sodium hypochlorite solution, used carefully, breaks organic growth without scouring the top layer of the paver. Rust from irrigation wells needs an oxalic or specialized rust remover, and oil stains respond best to a true degreaser and dwell time. On oil, I have better luck applying a poultice and letting it pull the contaminant out of the pores rather than blasting it deeper.
Surface cleaners help on larger driveways because they keep the wand level and prevent striping. Still, I always finish with a rinse using a fan tip to move loosened fines off the surface, especially around the joints.
Why sealing stops weeds before they start
Sealing is not just about the shine, it is about controlling water and stabilizing sand. A good paver sealer has two jobs: it cements the polymeric sand in the joints, and it reduces the porosity of the paver itself. Less moisture in the joint means fewer algae and moss spores taking hold. Less porosity means oil, rust, and tannins have a harder time sinking in.
There is a common misconception that any sealer creates a slick, glossy finish. That depends on the product and the solids content. In our climate, penetrating sealers and low-sheen film-forming sealers often outperform heavy gloss coats. They breathe better, which helps vapor escape, and they are less likely to blush or turn milky during humid seasons. If someone asks for a wet look, I explain the trade-offs. A higher-gloss paver sealer can look fantastic on a decorative patio, but it requires vigilant prep, careful application, and good weather. On a driveway with frequent vehicle traffic, a satin or natural finish tends to be more forgiving.
When homeowners look up paver sealing near me, they’re usually deciding between DIY and professional. Both can work, but the margin for error is thinner than most people expect. Too much sealer locks in moisture. Too little fails to stabilize the sand. Product mixing ratios matter, so do ambient temperature and surface temperature. It is not uncommon to see a sealer failure from applying Paver joint stabilization a solvent-based product over a water-based sealer without proper prep, or from sealing before the pavers have fully dried after washing.
The timing that prevents problems
I plan washing and sealing like a small construction project. After a thorough clean, the surface needs to dry completely, not just look dry. On sunny, breezy days in Florida, washed pavers might dry to the touch in an hour, but moisture at the base of the joints lingers longer. I test by taping a small square of plastic to a shaded area and checking for condensation after 30 to 60 minutes. If I see fog, it is not ready. Most patios need 24 to 48 hours after a deep wash, sometimes more if the site is shaded or humidity is high.
Wind and pollen count matter too. Sealing over fresh pollen creates a gritty feel and spoils adhesion, especially on smooth pavers. If a live oak in the yard is shedding heavily, I will reschedule. Clients appreciate the honesty, and the results justify the delay.
Polymeric sand, joint depth, and edge cases
The best defense against weeds is tight, well-filled joints stabilized by a quality polymeric sand. Not all sands are equal. Cheaper polymeric sands can leave a hazy residue or get brittle and crack in a year. Premium sands cost more but set harder without turning into concrete. My target depth is two-thirds the height of the paver. Too shallow and the joint won’t lock properly. Too deep and you risk binding the edges or letting water pump sand back out.
Here is where experience pays off. Some older installations have joints that vary widely, or the bedding sand sits high in spots. If I sweep new sand into every joint without addressing those variations, the polymer can cap the surface while the lower joint remains hollow. That cap flakes in chunks during the first hard rain. On these patios, I use a plate compactor with a non-marking pad to vibrate the sand down, then refill. I repeat until the sand stops settling. Only then do I mist and set.
In shaded yards where moss thrives, I mix the joint strategy with a periodic maintenance rinse rather than waiting two years for a deep clean. Moss is tenacious. It creeps under the edges. Do not rip it out dry with a wire brush unless you want to widen the joints. Wet it first, apply a biocide, then ease it free with a nylon brush or low-pressure fan and rinse gently. It takes longer, but the joints stay intact.
Choosing between water-based and solvent-based sealers
Both families have their place. Water-based sealers are friendlier to apply, especially in residential neighborhoods, because the odor dissipates quickly and cleanup is simple. They also tend to be more vapor-permeable, which lowers the chance of trapped moisture. Solvent-based sealers bond aggressively and can deliver a richer, deeper tone on certain pavers. The caution is compatibility. Applying a solvent over a water-based product without stripping can cause peeling. The reverse can also fail if the old solvent film is dense and nonporous.
On a typical driveway, I lean toward a high-quality water-based sealer with 20 to 25 percent solids for a natural or satin look. On a lanai where the homeowner wants a wet look and the pavers are dense, I might switch to a solvent-based acrylic or a urethane blend, but only after confirming the previous product. If there is no record, I do a small solvent test patch and check for softening or lifting.
Pressure washing without damaging the install
There is a persistent idea that more pressure equals cleaner. It does, briefly, until you notice etched lines across the paver and the joint sand blown out down to the bedding. The right approach uses pressure as a tool, not a hammer. A professional pressure washing service will control distance, angle, and flow. The goal is to shear contaminants from the surface, not peel the top layer of the paver.
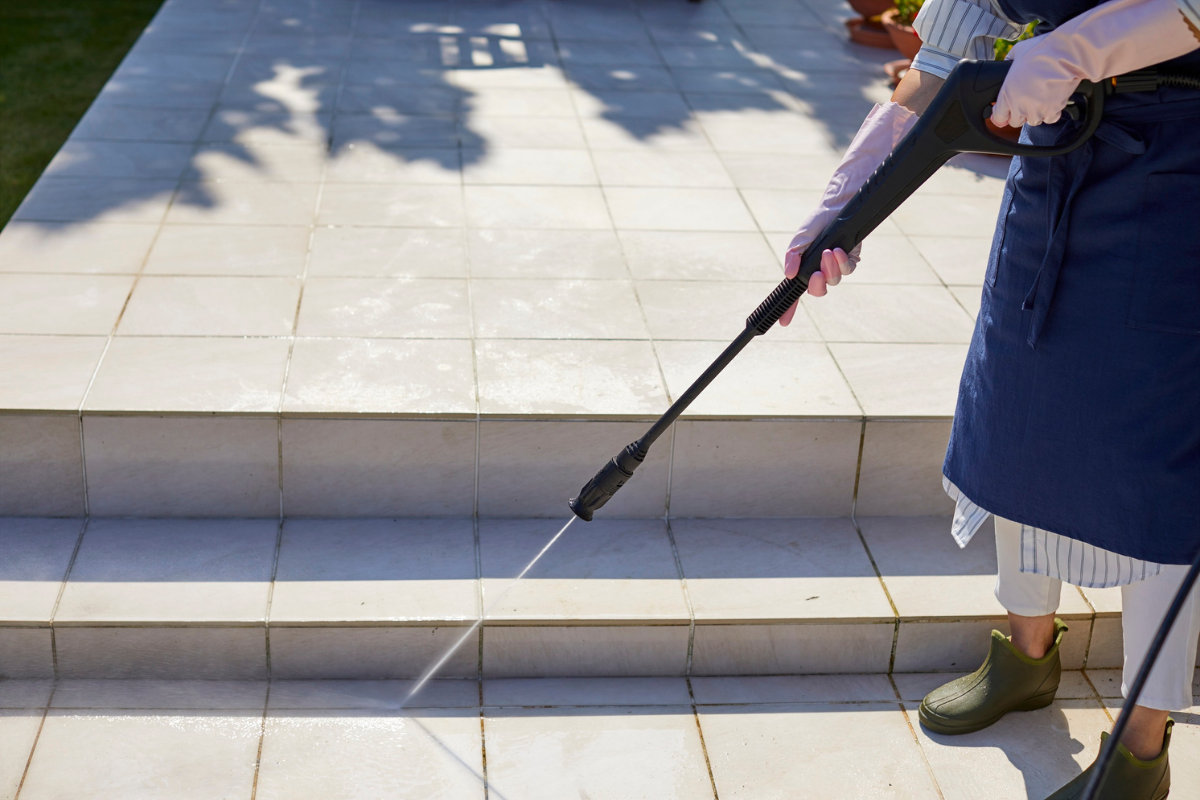
On driveways, I keep my wand moving and overlap passes slightly to avoid tiger striping. Around the edges, I dial back the pressure and change to a wider fan. I avoid turbo nozzles on pavers unless I am targeting a specific, stubborn spot and even then I test first. If the surface has efflorescence, pressure alone is not the answer. Efflorescence is mineral salt migrating through the paver. It needs an efflorescence cleaner and a rinse, with time built in for the reaction to finish. Otherwise, you’re polishing the symptom while the minerals keep moving up.
Some clients call for paver cleaning in Lutz because their irrigation water stains the surface with iron. Those stains can etch into porous pavers. Bleach will not fix it. An oxalic-based cleaner, applied carefully and neutralized afterward, does a better job. Then I adjust the irrigation head so it doesn’t spray the driveway. It sounds small, but it saves repeated cleaning and keeps the sealer from being attacked by constant mineral deposits.
The sequence that keeps weeds from returning
Wash, dry, sand, compact, mist, dry, seal. That rhythm produces joints that resist intrusion and surfaces that shed water. Skipping steps shortens the life of the work. Sand before sealing gives the sealer a partner to lock in. Compacting ensures the joint is truly full. Misting polymeric sand activates the binders, but over-wetting washes them out and leaves weak joints. I prefer a light mist, two or three passes, with enough time between to let the water sink. When the surface dries and the joints crust gently, sealing adds the final layer of protection.
A new install behaves differently than a 10-year-old patio. Fresh pavers can still be shedding salts, which is why I wait several weeks before any heavy sealing. Older pavers might have micro-chips along the edges that catch sand. I blow these areas clean just before sealing, even if I already rinsed. Little details like that keep stray grains from bonding to the sealer film.
Weather, drainage, and the hidden enemies
Weeds love standing water and trapped debris. If the patio or driveway holds puddles after rain, the joints in those low spots will fail first. Sometimes the fix is as simple as re-screeding the top layer of sand and resetting a few pavers to restore pitch. Other times, tree roots have lifted a corner and the base needs localized repair. I have unearthed ant colonies under pavers that looked perfect from above. The tell pool deck paver sealing was a small cone of sand at a joint after a dry spell. Treat the ants, compact the base, reset the pavers, then re-sand and seal. If you just sweep in more sand, the ants push it out like a conveyor belt.
Gutters dumping onto a walkway create a similar problem. A downspout spilling across a joint erodes sand and keeps that spot wet long after the rest of the surface has dried. A splash block or a buried drain extension costs little and prevents chronic joint failure.
What maintenance looks like after sealing
A well-sealed surface is easier to live with. Dirt rinses off with a hose. Algae struggles to get a foothold. Still, some care extends the life of the work and keeps weeds at bay. I encourage homeowners to treat their pavers the way they would a car. Don’t wait for grime to cake on. A quick rinse every week or two during the rainy season and a gentle detergent wash each quarter goes a long way. Spot-treat oil quickly. Keep leaf litter from sitting in shaded corners where tannins can stain.
Polymeric joints should last 2 to 4 years in typical residential use, sometimes longer under a covered lanai, sometimes shorter on a heavily trafficked driveway shaded by oaks. If you start seeing loose granules at the joints or plants pushing through, that is the cue. Call for maintenance before the problem spreads. Small repairs are cheaper and faster than a full reset.
When to call a professional and what to ask
There is no shortage of companies offering paver sealing and pressure washing. Skill varies widely. If you’re searching for paver sealing near me or pressure washing in your area, a short conversation can reveal a lot. Ask what sealer they plan to use and why, whether they will add polymeric sand, and how long they recommend drying between washing and sealing. A good contractor can explain the sequence and the reasoning in plain language. Get clarity on sheen preference, slip resistance, and what happens if it rains unexpectedly. And ask how they will protect surrounding plants and pool decks from overspray or chemical runoff.
For those in and around Lutz, the climate adds a twist. High humidity, frequent summer storms, and live oak pollen cycles influence timing and product choice. If a company understands those patterns, your results improve. It is not just about equipment, it is about judgment built from local experience.
Two common failure stories and how to avoid them
A homeowner once called after sealing their own driveway with a high-gloss solvent product on a humid afternoon. The surface looked great at sunset, milky by morning. Moisture trapped under the film reacted with the sealer, causing blush. The fix required stripping and resealing with a breathable water-based product, timed after three dry days with steady breeze. The lesson is simple: gloss magnifies weather mistakes, and humidity is part of the equation, not a background detail.
Another call came from a patio where weeds returned six months after a full service. The work looked clean. The joints, however, felt sandy. The installer had swept in polymeric sand but never compacted it, and the misting was heavy enough to wash binders to the surface. The joints set on top and stayed loose below, a crust over a void. A hard rain broke the crust, the wind added seeds, and the weeds found a path. We rewashed gently, vacuumed loose material from the joints, re-sanded with a denser polymer, compacted in two passes, misted lightly, then sealed once dry. Eighteen months later, the joints still looked solid.
Practical guidance for homeowners who prefer DIY
If you enjoy tackling projects, you can maintain smaller patios on your own with careful preparation. Use moderate pressure, test cleaners on small spots, and protect landscaping. Read the sand and sealer labels twice. Follow coverage rates, since over-application often causes more issues than too little. Check the forecast with a buffer beyond the drying window. Wear proper shoes when applying sealer. Overspray makes surfaces slick during application, even with a low-sheen product.
Keep expectations grounded too. DIY costs less in cash, more in time. Professional results come from repetition, better tools, and the judgment to stop when conditions change. If a project starts going sideways, step back and rethink rather than pushing through. Sealer can be forgiving if applied correctly. It can be stubborn if forced.
A simple seasonal plan that works
- Spring or early dry season: Thorough wash, spot-treat stains, evaluate joints.
- Summer: Light rinses as needed, trim plants back from edges to allow airflow and sun.
- Fall: Gentle wash, remove leaf litter quickly to prevent tannin stains, inspect downspouts and drainage.
- Winter or cool, dry stretch: Re-sand and seal if due, since humidity is lower and drying windows are longer.
What a finished, healthy paver surface looks and feels like
Stand on a well-maintained driveway and look across the surface. The joints appear full, not sunken. The sand sits just below the chamfer of the paver, and the edges feel tight underfoot. Water beads lightly after a rain, then disappears within minutes, flowing toward the street or yard instead of pooling. The color reads natural, maybe with a soft, low-sheen lift if sealed recently. There is no gritty film under your shoes, no stickiness, no chemical odor. Most of all, there are no green tufts poking through the lines.
That result does not come from one product or a single pass with a machine. It comes from a small, deliberate system: wash with care, dry thoroughly, fill the joints properly, and seal with a product that fits your climate and your pavers. If you treat washing and sealing as maintenance instead of crisis response, the weeds stop seeing your patio as a place to live. They’ll move on, and you get your weekends back.
Bulletproof Pavers
Address: 1523 Green Meadow Dr, Lutz, FL 33549
Phone: (813) 401-0693