Washing and Sealing Pavers: The Complete Process Explained
Pavers earn their keep the day they are installed, but they only keep their good looks and structural integrity if you care for them. Sun bakes pigments. Tires grind grit into the surface. Irrigation overspray feeds algae. Add a little settling and a few weeds, and a handsome patio or driveway can start looking tired in two or three years. The fix is not complicated, but it is detailed work. Washing and sealing, done with the right timing and technique, can restore color, tighten joints, and keep maintenance light for years. Done poorly, it can trap moisture, create a blotchy mess, and shorten the life of the surface.
I have cleaned and sealed everything from clay brick to tumbled travertine and dense concrete pavers in humid neighborhoods and high-heat cul‑de‑sacs. The process is not one-size-fits-all. It takes a clear read of the substrate, stains, drainage, and the surrounding landscape. What follows is the complete process, with practical notes you only learn by doing.
What washing and sealing really accomplish
Sealers do more than make pavers shiny. They stabilize joint sand, slow down water intrusion, block UV from bleaching pigments, and make stains easier to lift. The washing stage does more than remove dirt. It opens the pores for even penetration, purges salts, knocks out organic growth at the roots, and levels the joint bed so sand sits flush.
Think of it as a system: clean substrate, set joints, then seal at the right moisture content. If any link is weak, you will see it later. A glossy finish over damp pavers will haze. Skipping an alkaline rinse after degreaser can leave a film that repels sealer. Neglecting a gutter downstream of a driveway can funnel backwash full of silt and streak a freshly sealed apron the first time it rains.
Reading the paver field before you start
Every job starts with assessment. You are looking for three kinds of information: the paver and joint material, the stains present, and the site conditions that will affect cleaning and curing. Concrete pavers are the most common, and they vary in density and finish. A smooth, pressed concrete paver will clean differently than a textured tumbled style with wide chamfers. Clay brick is more brittle at the edges, dislikes aggressive tips, and often shows efflorescence after a wet winter. Natural stone such as travertine or shellstone is sensitive to acids and can etch quickly.
Stains break down into organic and petroleum based. Organic staining follows shade and moisture: algae on the north side, lichens where sprinklers hit, tannin from nearby trees. Petroleum staining follows vehicles and grills: transmission drips, grease splatter, rust rings from patio furniture. Paint and sealer failure sit in their own category. Each demands a specific cleaner and dwell time.
Site conditions matter just as much. In hot climates the surface temperature can exceed 130 degrees by noon. Most chemistry works best between 50 and 90 degrees, and high heat flashes water and cleaners too quickly. Shaded courtyards can hold moisture long after washing. High humidity slows sealer cure. Newly installed pavers can retain construction dust and trapped moisture. In Lutz and surrounding Tampa Bay neighborhoods, where I often get calls for paver cleaning Lutz and paver sealing near me, summer humidity and afternoon thunderstorms can compress the working window to a few hours. You plan accordingly.
The right equipment and why technique matters more than pressure
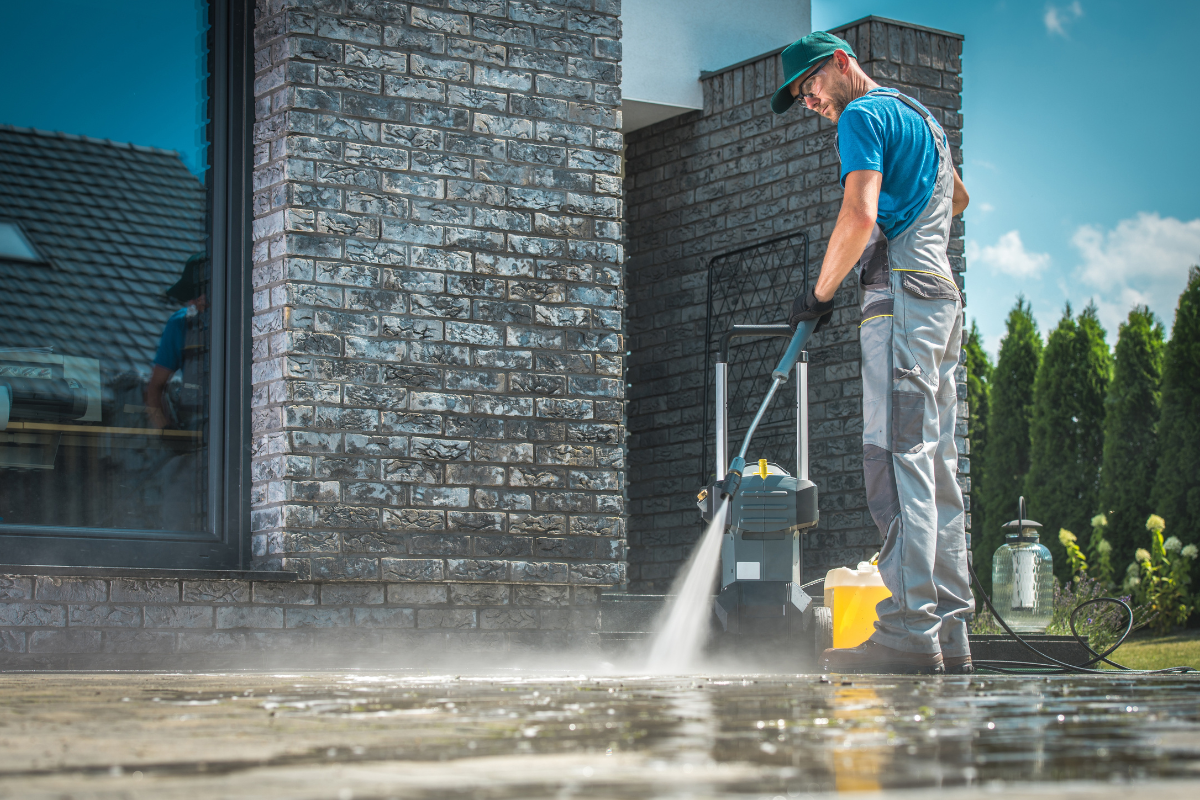
A pressure washer is a tool, not a solution. The goal is controlled agitation and rinsing, not carving lines in concrete. For residential pavers, a machine in the 3,000 to 4,000 PSI class with 4 to 5 gallons per minute gives you flow to carry debris and enough headroom to throttle down. More flow does more cleaning than more pressure. A surface cleaner fitted with a two‑nozzle bar evens out the pass and prevents tiger striping. A rinse gun with a 25‑degree tip handles edges and verticals. A turbo nozzle has its place for cutting weeds out of joints, but it can chew edges if you linger.
Equally important, you need soft washing capability for chemistry application. A dedicated 12‑volt or air pump allows you to apply sodium hypochlorite and surfactants gently and evenly. You do not want to pull hypochlorite through a pressure washer pump, especially not if you plan to keep that pump. For degreasing, an alkaline cleaner designed for concrete breaks petroleum bonds. For rust, a reducer formulated for iron stains helps without chewing into cement paste.
Personal protection is nonnegotiable. Eye protection, gloves rated for the chemistry, and OSHA‑compliant slip resistance on your footwear. When you run a pressure washing service regularly, you learn that the slickest surface is a wet sealer haze and pre-treatment and post-treatment the quickest way to fall is to step backward over a wand hose.
Step by step: washing and sealing that lasts
Every crew develops its own rhythm. This is the sequence that consistently produces even color and durable joints on driveways, pool decks, and patios.
Dry inspection, leaf blow, and edge prep. Start clean and dry. Blow off loose debris. Pull furniture and planters. Note drain locations and low spots. Cover delicate plantings and redirect downspouts that feed the area. Photograph oil drips and existing damage so expectations are clear. Tape the garage door weather strip to prevent hypochlorite mist from streaking it.
Pre‑treat stains in categories. Attack petroleum first with an alkaline degreaser. Work it in with a deck brush and let it dwell. For rust rings, apply an appropriate reducer and keep it wet according to label instructions. Organic growth gets sodium hypochlorite at the right percentage for the task, typically 1 to 3 percent on the surface for pavers, slightly stronger on stubborn algae, always with a surfactant to hold it. Do not mix acids and hypochlorite. Stagger the tasks so no product dries on the surface.
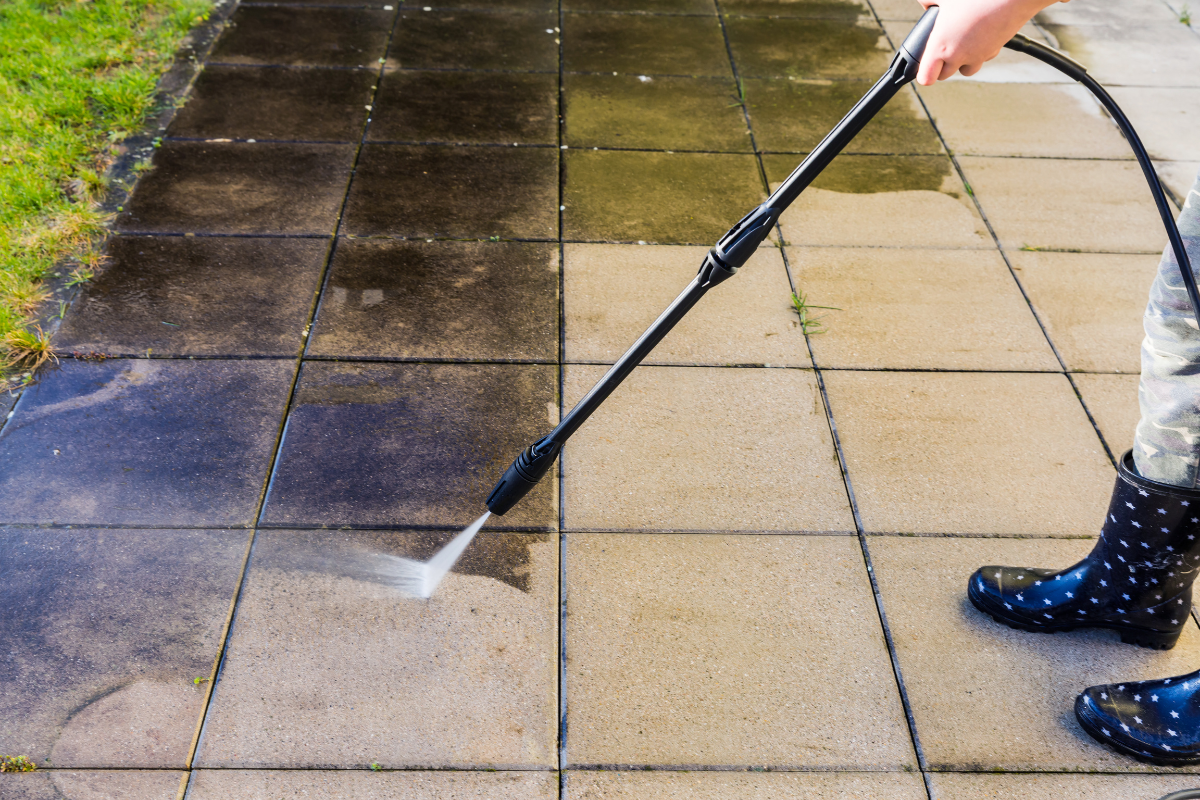
Mechanical cleaning with a surface cleaner. Work in overlapping passes. Keep a consistent walking speed. A good rule is a slow, counted three for each stride across a paver width. Rinse long runs toward drains, not into planting beds. For joints blown wide open by previous cleanings, throttle down. You want them clean but not excavated.
Detail rinsing and edge work. Switch to the wand. Sweep silt away from thresholds and pool coping. Rinse off walls, screens, and lower trim. If you see heavy foaming or slickness remaining, that is a sign of residual soap. Use clear water until the surface sheets cleanly.
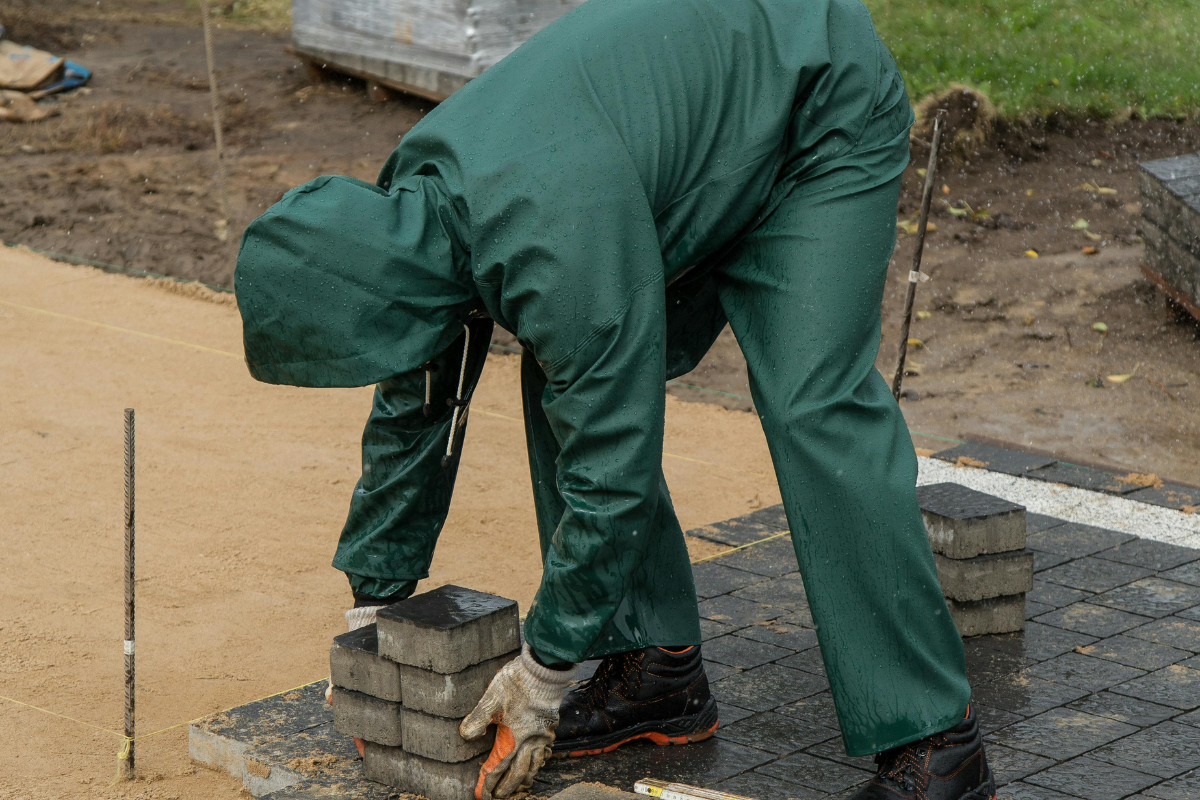
Joint sand replacement. Only after the field is washed and has drained do you sand. Choose a polymeric sand compatible with your pavers and climate, or a kiln‑dried joint sand if you plan to stabilize with sealer. Sweep it in diagonally to pack joints flush with the bottom of the paver chamfer, not mounded. Vibrate with a plate compactor fitted with a protective mat to settle the sand and identify low joints. Sweep and blow off every grain from the surface. Sand left on the face of the paver becomes a blemish once sealed.
Moisture check before sealing. This step separates a good job from a callback. The pavers must be dry enough for sealer to penetrate and cure. In warm, breezy weather, washed pavers can be ready the same afternoon. In shade or high humidity, wait through the next morning. Use a moisture meter if you have one, or do the simple plastic test: tape a square of clear plastic wrap to the surface and wait 30 minutes. If condensation forms, it is too wet. Joints must be dry on top if you used polymeric sand so they set, or appropriately damp if the manufacturer specifies a wet set.
Sealer selection and application. Match the paver sealer to the material, desired look, and environment. For concrete pavers, breathable, film‑forming acrylics in solvent or water base are common. Solvent acrylics deepen color strongly and are unforgiving in enclosed areas. Water‑based urethanes and hybrid formulas offer good durability with lower odor, often in a natural or satin finish. Penetrating silane/siloxane blends leave no sheen and are excellent where slip resistance matters most, such as steep driveways or pool decks with smooth stone. Read the data sheet. Apply with a high‑quality roller and a low‑pressure sprayer. First coat goes thin to wet out the pores. The second coat, if specified, can be slightly richer, applied in a crosshatch to avoid lap marks. Keep a wet edge. Watch the leading edge in sunlight because glare can hide dry spots.
Cure and protect. Block traffic until the sealer can handle it. Light foot traffic is typically safe after a few hours. Vehicle traffic usually waits 24 to 48 hours depending on the product and weather. Do not return planters for at least a day, longer if they have no feet. If rain threatens within the cure window, tent critical areas with breathable tarps or reschedule.
The list above is the skeleton, but the muscle is in the adjustments you make for each site. A driveway with deep oil soak might require poulticing after degreasing. A pool deck next to saltwater will benefit graffiti removal from a sealer with added chloride resistance. Clay brick may do best with a penetrating sealer that leaves texture unchanged.
Choosing a sealer: appearance, safety, and longevity
When homeowners search for paver sealer or paver sealing near me, what they often want is a restored color and a finish that matches their taste. Gloss gets attention in photos, but it is not right for every surface. On heavily textured tumbled pavers, semi‑gloss can look rich without being slick. On smooth travertine, anything more than a natural or satin finish can turn treacherous when wet. Add a polymeric anti‑skid to high‑traffic zones if you lean toward sheen.
Durability varies. A solvent acrylic may give you two to three years in a shaded courtyard and closer to one to two years on a sun‑baked driveway. Water‑based urethanes can stretch longer if applied correctly, often two to four years. Penetrating sealers do not change appearance and can go three to five years, but they do not stabilize joint sand or enrich color. If tire scuffing is a problem, avoid soft films and ask for a crosslinked coating or a penetrating option.
Breathability matters in humid climates. A film that seals too tightly over a damp base can haze, blush, or turn milky. Products rated as breathable allow vapor to pass while still shedding liquid water at the surface. This is especially important over laid pavers on a compacted base without a vapor barrier, which is most residential installations.
Why moisture control and timing are nonnegotiable
Most premature sealer failures trace back to moisture. Trapped water tries to escape as vapor, pushing through a film and turning it cloudy. The fix can be simple if caught early: gentle heat and airflow can drive off the moisture and clear the film. Sometimes a xylene flush on solvent acrylics can reflow the surface. But if moisture is chronic because of site grading or irrigation leaks, you will fight it at every maintenance cycle.
Plan the job around weather. In Florida’s wet season, I schedule washing in the morning, allow full sun and wind to work, then seal late afternoon or the next morning depending on shade. In cooler months, mid‑day sealing gives you curing hours before dew. If the forecast shows high humidity and overnight lows near the dew point, do not push a late coat. That’s how roller lines and partial cures happen.
Working around pools, plants, and painted surfaces
Pool decks demand extra care. Keep chemistry out of the water. Plug skimmer mouths with foam blocks and turn off pumps during washing to avoid pulling in contaminated water. Sodium hypochlorite mist can bleach mesh screens and aluminum frames. A light water mist before a nearby application helps protect plants, and a flush afterward dilutes any overspray. Never let acidic rust removers sit on metal or painted trim. Mask if needed.
Sealer in a pool environment should balance slip resistance with stain protection. Penetrating sealers are a conservative choice. If the owner wants color enhancement, select a low‑sheen film with an additive that increases traction. Test a small area where wet feet and sun meet, for example near the steps, and look at it both dry and after a hose down.
The joint sand decision
Joints hold the field together. Loose, washed‑out joints invite weed growth and allow lateral movement under vehicle load. Polymeric sands, when installed by the book, harden enough to resist washout and inhibit weeds. The caveat is installation sensitivity. The surface must be bone dry before application. The activation water must be applied in a soft, even shower to avoid flooding, and the sand must be compacted and topped off before that water ever touches it. If you plan to stabilize with sealer instead of polymer, use kiln‑dried sand and ensure the first coat wets the joints adequately. You are aiming for sand that locks in place but still drains, not concrete.
On steep driveways or areas with heavy rain, polymeric sand is worth the extra steps. In shaded patios with complex planting edges, traditional sand stabilized by sealer gives you easier touch‑ups later.
Common mistakes I still see
The same errors appear again and again, often from good intentions. Too much pressure scars the surface and opens pores so wide that stains return faster. Rushing the dry time before sealing traps moisture. Flooding polymeric sand washes the binder onto the paver face, where it dries to a haze that is difficult to remove. Overapplication of film‑forming sealer leaves a plastic look and leads to hot tire pickup. Skipping stain pretreatments smears oil deeper during washing.
If you hire a contractor after searching driveway pressure washing near me, ask about their process. They should talk about chemistry first, pressure second. They should own a surface cleaner. They should explain how they will control runoff and protect the surrounding area. They should be able to tell you what sealer they propose, why it suits your paver type, and how they control moisture. Vague answers lead to vague results.
Maintenance after sealing
A good seal does not eliminate maintenance. It changes its character. Instead of embedded stains, you are breaking surface tension and lifting contaminants off the film. A garden hose with a fan nozzle and a gentle scrub solves most weekly issues. Avoid harsh acids or strong degreasers unless spot treating. Hot tire marks often wipe with a mild alkaline cleaner within the first weeks if you address them promptly. Re‑seal when water stops beading or when high‑traffic lanes visibly dull compared to protected areas. For many homes, that cycle is every 2 to 3 years for film‑forming products and 3 to 5 for penetrants. Partial re‑seals on traffic lanes can stretch the cycle if sheen variation does not bother you.
If weeds pop through, they are usually anchored in substrate fines under the pavers, not in the joints themselves. A targeted herbicide, applied sparingly and followed by a rinse, keeps them in check. Avoid letting sand wash out around downspouts or hose bibs. Small repairs now prevent large voids later.
Environmental and runoff considerations
What you wash off the pavers ends up somewhere. In many neighborhoods, storm drains lead directly to lakes and bays. That changes product choices and how you capture or redirect water. Use berms or sand snakes to keep slurry on the hardscape until you can vacuum or route it to vegetated areas that can handle the load. Choose cleaners that are effective at low concentrations and follow label directions for neutralization and disposal. When a client asks about a pressure washing service that is mindful of landscaping and waterways, this is the conversation to have. It is also your best defense against etching a driveway because a DIY acid wash ran into a galvanized threshold.
Regional notes and climate quirks
In coastal areas, salt crystallization can lift sealer films and leave pavers looking dusty despite being sealed. Regular freshwater rinses extend the life of the coating. In freeze‑thaw regions, avoid thick films that bridge joints and restrict movement. Penetrating sealers often outperform films there. In humid zones like Lutz and the greater Tampa area, afternoon thunderstorms dictate scheduling and breathable products shine. Sprinkler overspray is a silent saboteur. Adjust heads so they do not wet sealed surfaces during the first week after application.
When to bring in a professional
Some projects are perfect for a careful homeowner. A small patio with light soiling, good sun, and straightforward access is a good test case. Complex drives with deep oil, steep slopes that shed fast, or pool decks with multiple materials invite trouble for DIY efforts. If you decide to hire, look beyond price. Experience with your exact paver type, a clear plan to manage moisture, and real references matter more. Reputable crews do not flinch when you ask about insurance, product data sheets, and what happens if a rain cell sneaks in mid‑coat.
The phrase paver cleaning Lutz comes up often in local searches for a reason. This is a region where climate and water management play outsized roles. Hiring locally means the contractor knows which driveways hold dew until 11 a.m., which communities require water reclamation, and which sealers turn too slick around screened pools.
Final notes on expectations and trade‑offs
Sealing is a protective measure with a finish effect. It cannot fix structural issues like heaving or deep settling, and it will not fill missing chunks at paver corners. It will, however, enrich color, even out the surface appearance, and make life easier day to day. The trade‑offs are simple. More sheen usually means more maintenance to control slip and scuff. More breathability usually means less color pop. Longer life often requires a higher upfront cost and stricter application windows. Striking the right balance is the mark of a professional.
If you start with a clean, dry field, choose a sealer suited to the material and climate, and respect the curing process, your patio or driveway will handle rain, sun, and family traffic with grace. If you cut corners, the surface will tell on you within weeks. The process is not magic, just disciplined work. That is what keeps pavers looking like the day they were laid, not just this season, but year after year.
Bulletproof Pavers
Address: 1523 Green Meadow Dr, Lutz, FL 33549
Phone: (813) 401-0693