Sealing Pavers After Repairs: Best Timing for Longevity
Driveway and patio pavers age the way a well-used shop tool does, with stories in every mark. If you care for them the right way, they work hard for decades. Most homeowners know to clean and seal a new paver surface, then refresh the sealer every few years. What trips people up is what to do after repairs. You fix a sinking edge, replace a cracked brick, re-level a sagging stretch near a downspout, then look at the rest of the surface and wonder when you can safely seal again. The answer is not one-size-fits-all. It depends on the type of repair, the climate, the paver material, and the chemistry of the sealer you plan to use.
I have spent enough time troubleshooting those white blushes under the film, chasing bond failures after a surprise rain, and stripping gooey sealer layers to know that timing matters more than any other factor. A good paver sealer applied at the wrong time will fail faster than a mediocre sealer applied on the right day to a properly cured and dry surface. If you want longevity, you need patience, prep, and a plan for weather windows.
The repair sets the clock
Every repair starts a new timeline. The most common post-repair scenarios fall into a few buckets: resetting and re-sanding, replacing individual pavers, patching the base, and adding new sections to an existing sealed field. Each of these affects when you should seal.
When pavers are lifted and reset to correct settling, the polymeric joint sand becomes the first constraint. Polysand needs moisture to activate, then a dry period to cure. Most brands want a light misting that wets the top half inch, followed by a cure window without significant water or freeze. In warm, ventilated conditions, the joints reach handling strength within 12 to 24 hours, but full cure can take 48 to 72 hours. In cool or humid weather, double that. If you seal too soon, the solvent or water in the sealer traps moisture in the joints, and the polymer can haze or crust. You also risk sealing a damp substrate, which can cloud the finish.
Replacing individual pavers introduces a moisture mismatch. That new concrete or clay unit you pulled from a pallet has a different water content than the sun-baked paver next to it. Concrete pavers are porous and behave like sponges until they reach equilibrium with their surroundings. If you seal while that replacement paver is still shedding moisture, you can get blotchy dark spots under film-forming sealers. The fix is time and air movement.
If you patched the base with new aggregate or replacing bedding sand, compaction adds a variable. You want settlement to be done before sealing, otherwise you lock in a slight low spot that will catch water and degrade faster. After a base or bedding repair, budget more days for observation. Hose the area, let it dry, and check for soft movement when you walk it. If it sponges underfoot, it is not ready.
Adding new sections adjacent to older sealed areas brings blending into the picture. You can seal everything once the youngest section is ready, or you can spot-seal and accept a sheen difference for a while. If uniform appearance matters, plan on delaying until both old and new areas are ready for an even coat.
Moisture is the hidden saboteur
The best rule I have learned for longevity is this: never seal a damp paver. The surface can look dry and still hold moisture below the first eighth of an inch. That is where sealers travel, and it is where moisture tries to escape after application. If vapor pressure pushes out under a curing film, you see blush, whitening, or microbubbles. If it is a penetrating sealer, trapped moisture can dilute the active content and reduce depth of penetration, which shortens the protective effect.
In humid regions, finding a truly dry window is more about timing the dew point than watching the forecast for rain. You want a stretch where daytime temps rise steadily, relative humidity drops into a manageable range, and nights do not hit the dew point early. People searching for a pressure washing service before sealing often underestimate how long surfaces hold water after a thorough clean. I test by taping a small piece of plastic to a representative spot and checking for condensation after an hour. If moisture beads on the underside, the paver is still drying.
Concrete pavers in shaded areas, near vegetation, or set over compacted clay hold water longer than sunny, well-drained sections. That means timing can vary across one job. Be ready to stage sealer application in zones if conditions demand paver sealing company it.
Temperature, sun, and wind shape cure times
Sealers cure by evaporation, chemical reaction, or both. Water-based acrylics and urethanes rely on water evaporation and film coalescence. Solvent-based acrylics flash off faster but carry stronger odors and can darken or “wet out” the surface more dramatically. Penetrating silane/siloxane products rely on a chemical reaction within the pore structure. Each chemistry has a preferred temperature and humidity window.
For most water-based film-formers, ideal application happens between 50 and 85 degrees Fahrenheit with relative humidity under 60 percent and light air movement. Solvent-based products tolerate slightly wider ranges but hate direct midday sun on hot pavers. When the surface temperature climbs above 90, solvents flash too quickly, and you risk lap marks and poor film formation. Penetrating sealers are more forgiving of heat but still prefer a dry substrate.
If you just completed repairs, aim for the mildest day in a three-day fair-weather stretch. Avoid the morning after a cool, dewy night. Start late morning as the surface warms and residual moisture evaporates, then finish early enough that the film sets before evening dampness returns. Wind is helpful up to a point because it carries moisture away, but strong wind accelerates drying so fast that maintaining a wet edge becomes difficult. In a cul-de-sac or a courtyard, even a light breeze can swirl dust into the finish. Plan accordingly.
The curing timeline after common repairs
Because readers often ask for numbers, here is a field-tested set of ranges that hold up across many jobs. Adjust for your climate.
- After resetting pavers with polymeric sand: allow 48 to 72 hours of dry weather before sealing; if nighttime lows drop below 50 or humidity stays high, extend to 4 to 7 days.
- After replacing a few pavers from a new pallet: allow 3 to 5 warm, dry days for the replacements to equilibrate; shaded areas may need up to a week.
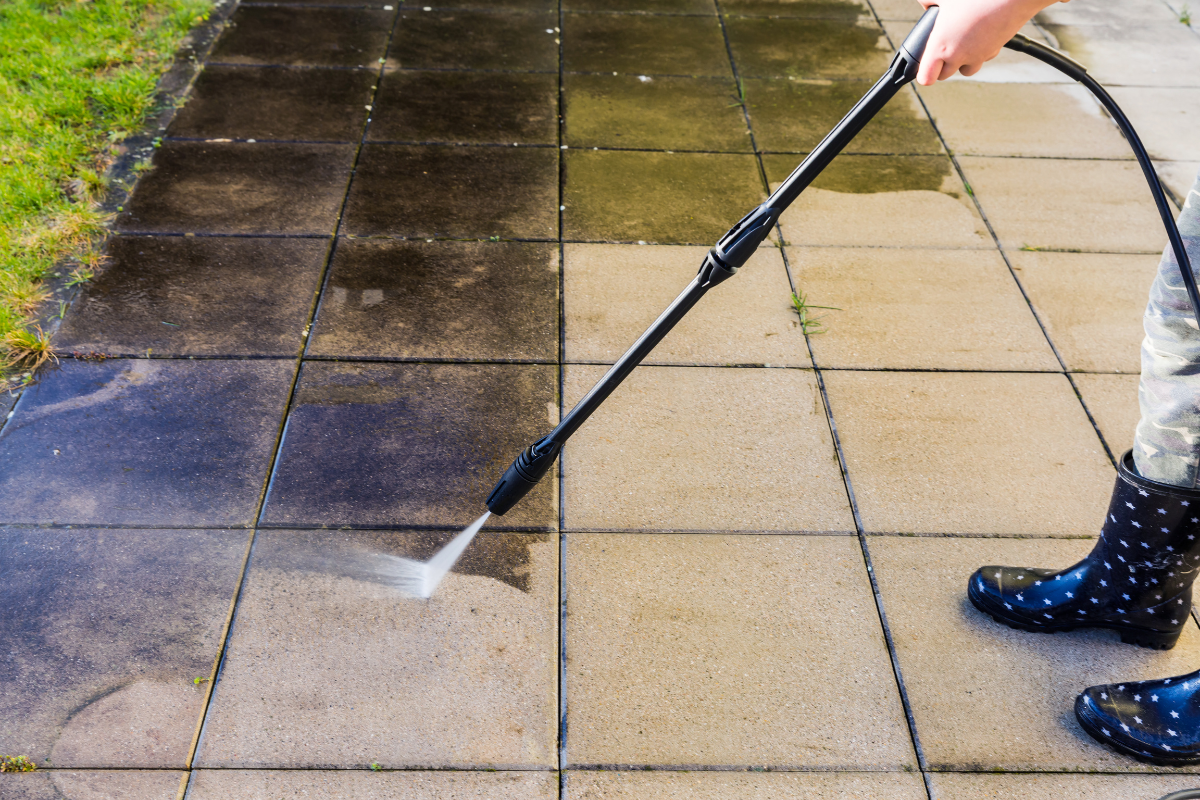
- After pressure washing prior to sealing: allow 24 to 48 hours minimum of drying time in warm, breezy conditions; in shade or high humidity, budget 72 hours or more.
- After base repair or re-leveling larger sections: allow 3 to 7 days for settlement checks, then proceed with joint sand and its cure period before sealing.
- After efflorescence treatment: follow the chemical manufacturer’s rinse and neutralization steps, then allow 72 hours dry time before sealing.
Those ranges assume moderate temperatures and no rain. In places like Florida’s Gulf Coast, where paver cleaning Lutz crews often work, humidity can make 48 hours insufficient even in sunshine. On the flip side, in arid climates with single-digit humidity, surfaces can be ready the next day. The substrate tells you the truth if you test it.
Why joint sand dictates so much
The joint is a structural element, not a cosmetic one. When you repair, you break that structure, and the sand must bond again before sealer locks it in place. Polymeric sand binds under controlled moisture, creating a semi-rigid matrix that resists washout and weed growth. If you seal too soon, the solvent or water in the sealer leaches into the joints and interrupts the polymer crosslinking. You see this as chalky crusts or soft, gummy joints that erode quickly.
On the other hand, waiting weeks with bare joints invites problems. Wind, foot traffic, and pets can dislodge sand. A heavy rain can carry the fines off the surface, leaving you with underfilled joints that telegraph through the sealer as shadow lines. There is a sweet spot: allow full cure of the polysand, verify the joints are flush to the chamfer without bridging, and then seal before weather or use degrades the fill.
A quick field check helps. Press a flathead screwdriver gently into a joint. Properly cured polysand resists and crumbles at the top, not deep. If the tool sinks easily, it is not ready. If the top looks like a brittle shell over loose sand, you applied too much water during activation. In that case, wait longer, then top up any low joints and re-activate with a fine mist.
Choosing the right sealer after a repair
Not every paver sealer suits every repair scenario. Film-forming acrylics, both water and solvent based, deepen color and add a low to medium sheen. They help stabilize remaining joint sand and make routine cleaning easier. They also show application flaws more readily and can trap moisture. Penetrating sealers preserve a natural look, do not change the coefficient of friction as much, and breathe better, which helps when repaired sections may still be off-gassing moisture.
If you routinely search for paver sealing near me and talk to several contractors, ask about the product families they trust on post-repair surfaces. Many pros will choose a breathable, low-solids sealer for the first coat after a repair, then step up to a higher-solids finish later. That approach lowers the risk of blush and gives you an out if blending between old and new sections looks off. You can apply a second, richer coat once the entire surface equilibrates.
For driveways that see frequent vehicle traffic, solvent-based acrylics hold up well to hot-tire pickup when applied and cured correctly. The catch is odor and application sensitivity in hot sun. For pool decks and patios, water-based urethane-modified acrylics resist sunscreen and food stains better and are friendlier in enclosed courtyards. Penetrating silane/siloxane blends excel on clay pavers and in freeze-thaw climates where vapor permeability prevents spalling.
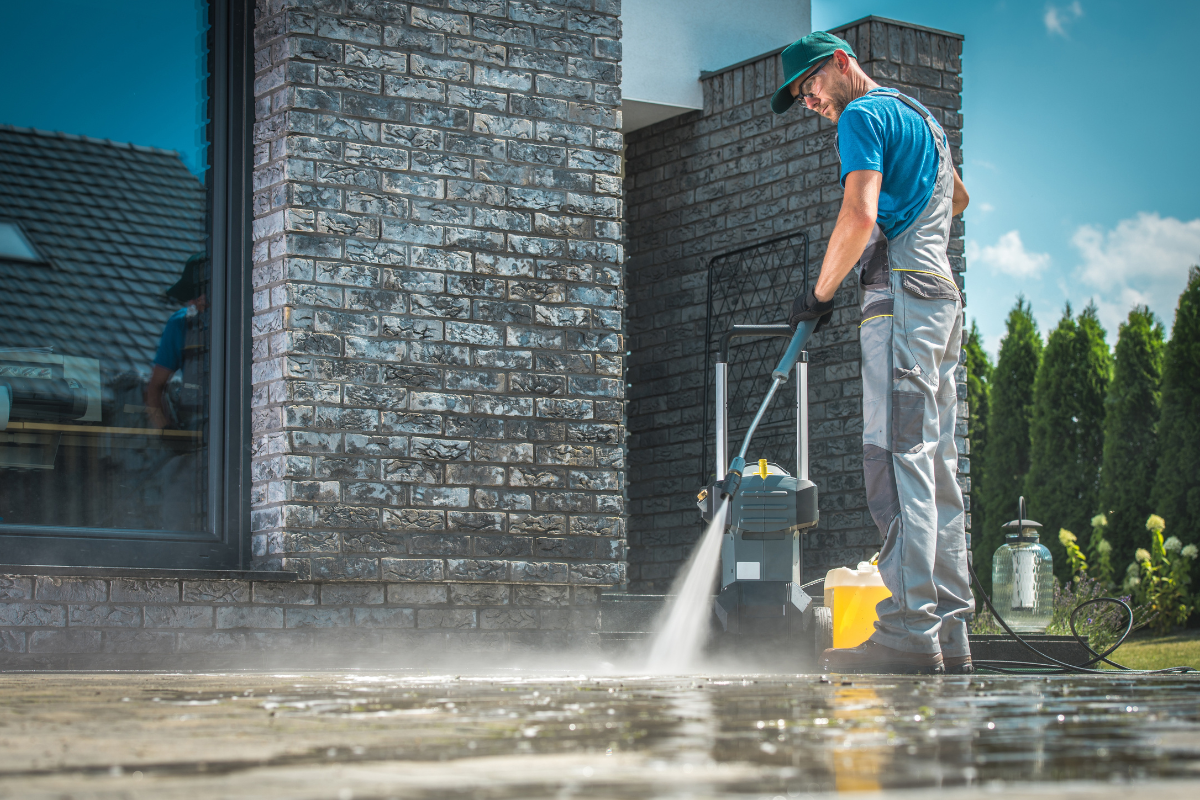
Cleaning before sealing still matters
Repairs leave footprints, dust, and polymer residue. Good washing and sealing practices start with a thorough clean that does not oil stain removal dislodge the new work. A professional pressure washing service will dial back the pressure and lean on flow and fan angle to lift dirt without cutting into fresh joints. For homeowners searching driveway pressure washing near me, ask how the crew protects polymeric sand during the rinse. The right method is a top-down surface clean followed by a low-angle rinse that carries debris off the field gently.
Detergent choice matters too. Avoid high-alkaline degreasers on recently installed polysand. If you used an efflorescence cleaner or rust remover on a repaired area, neutralize the surface and rinse twice the following day. Then let it dry longer than you think you need. Clean pavers seal better, but wet pavers surface preparation make even the best sealer fail early.
Blending old and new: visual expectations
Even with perfect timing, repairs change the canvas. New pavers may not match perfectly. Old pavers may have lightened from UV exposure and previous cleanings. Sealer amplifies these differences at first, especially color-enhancing products. Do not panic the day after sealing when a replaced corner looks darker. As the sealer finishes curing and the solvents or water leave the film, the sheen evens out and the color settles over a week or two.
If blend is critical, test in a corner. Apply your chosen paver sealer to a spare repaired paver and an original one side by side, let them cure, then decide. Sometimes a more natural, penetrating sealer hides the contrast better. Other times, leaning into enhancement makes the whole field look intentionally renewed. When you have a patchwork of repairs across a large driveway, a staged approach can help: seal the whole surface lightly, assess in a week, then apply a second coat across the entire field for uniformity.
Weather planning and patience pay off
The number one cause of early failure after repairs is rushing the schedule to beat rain. Homeowners watch a clear Friday and schedule cleaning in the morning, polymeric sand in the afternoon, and sealing on Saturday. By Sunday, a storm rolls through and the joints are still green. A week later, white bands appear in the joints and dull patches spread. I have stripped more of those jobs than I care to count.
Build a buffer. If the forecast gives you a clear Thursday through Monday, pressure washing on Thursday, sanding and activation on Friday, rest on Saturday and Sunday, and sealing on Monday is a comfortable cadence. If the forecast is less generous, wait. Repairs do not benefit from speed. They benefit from cure time, airflow, and a surface temperature you would be comfortable walking barefoot on.
Edge cases and judgment calls
Every site has its quirks. Under a dense live oak, pavers stay damp long after the driveway brightens. On a shaded north-facing walkway, early morning dew sits for hours. In a windy coastal lot, sand blows into joints and sticks to fresh sealer if you apply midafternoon. If you work in a place like Lutz, Florida, where afternoon thunderstorms are common, the window may be early noon on a day that started dry. Professionals who specialize in paver cleaning Lutz area know to avoid hurrying joint activation late in the day, since a 4 pm storm is more rule than exception in summer.
You also encounter unexpected efflorescence after repairs. Disturbing the bedding sand and base can mobilize salts. If you see a white bloom appear within a week of cleaning, hold off on sealer. Let it express fully over two to three weeks, then treat with an efflorescence cleaner, rinse thoroughly, let it dry again, and seal. That extra step prevents sealing salts under a film, which creates long-term hazing that no amount of buffing fixes.
Oil stains from vehicles that parked during the repair window demand pretreatment with a poultice or enzyme cleaner. If you seal over residual oil, hot tires will lift the film in that spot. Test by sprinkling water. If it beads tightly in one area and darkens elsewhere, there is likely a contaminant that needs more attention.
What success looks like two years later
The real test of timing shows up a few seasons down the road. A well-timed sealing job after repairs still beads water modestly without feeling slippery, the joint lines are intact without crust, and there is no chalky whitening under the film. The repaired area sits flat with no birdbath puddles. When you clean, light pressure and detergent lift dirt easily, and there are no gummy patches that grab the wand.
If you find yourself re-sealing every 12 months to restore gloss and tackle white spots, your timing or product choice missed the mark. In most climates, a quality sealer on a properly cured and dry surface gives you 2 to 4 years on driveways and 3 to 5 years on patios and walkways before you need a maintenance coat. High-traffic, sunny driveways sit at the low end of that range; shaded patios stretch longer.
A practical sequence that rarely fails
For homeowners and facility managers who want a straightforward playbook, this lean sequence keeps jobs on track without cutting corners.
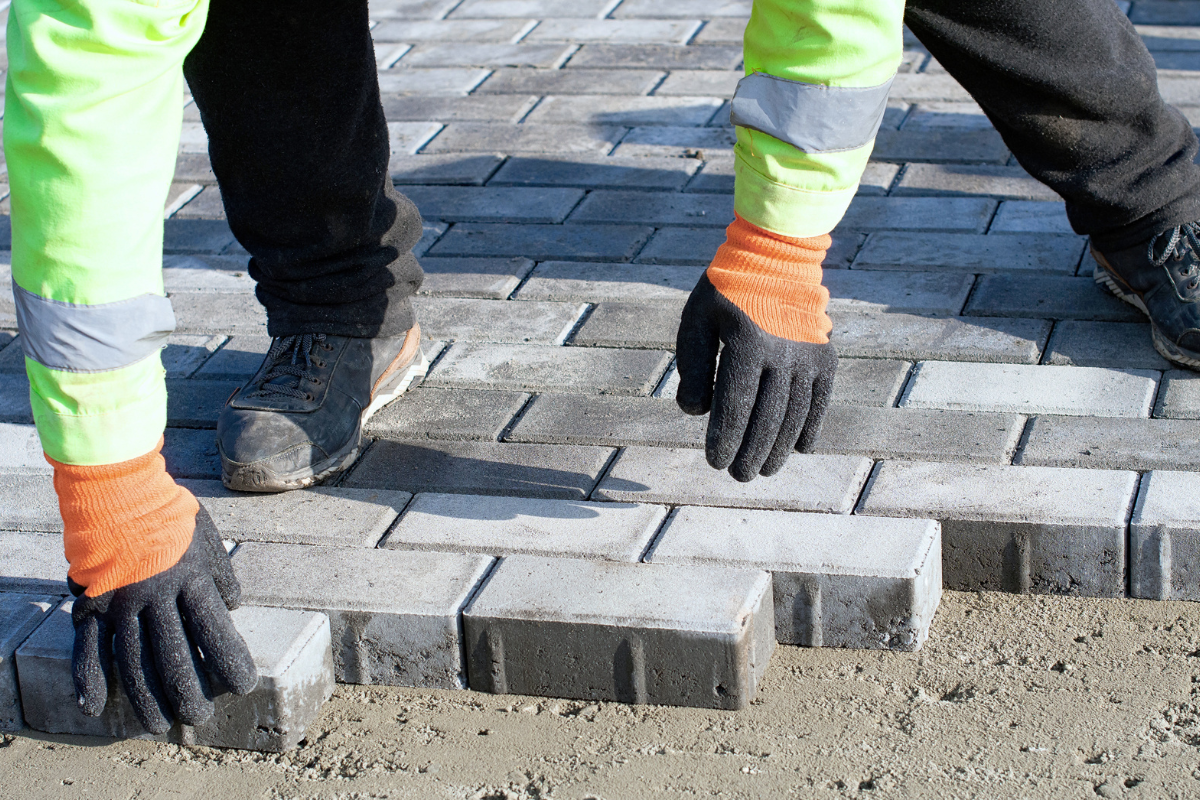
- Complete repairs and compaction. Replace pavers, re-level bedding, edge restraint as needed. Blow off dust.
- Wash thoughtfully. Use moderate pressure with a surface cleaner, rinse carefully to protect joints, spot-treat stains, and neutralize any acids.
- Dry completely. Allow 48 to 72 hours of dry weather, longer in shade or humidity. Use the taped-plastic test. Watch for dew.
- Install and activate polymeric sand. Follow brand instructions, err on the side of light misting, and clean the surface meticulously before activation.
- Cure and seal. Give joints 48 to 72 hours in fair weather. Choose a sealer suited to your pavers and conditions, apply in thin, even coats, and let the first coat flash off fully before a second if needed.
If weather threatens at any stage, pause. Nothing ruins a good plan faster than forcing the next step into a bad window.
When to call a pro and what to ask
There is real value in experience. Contractors who handle washing and sealing daily see enough variables to judge moisture by feel and heat by hand. If you decide to hire, do more than search paver sealing near me and pick the first result. Ask specific questions: What is your drying standard after washing? How long do you wait after polymeric sand? Which sealer chemistry do you prefer for a post-repair surface? How do you handle humidity and dew? Do you offer a moisture test before application?
A reputable crew will explain their timeline and adjust to your site. They should own a rotary surface cleaner, a low-pressure rinse setup, leaf blowers for final dust control, and the right sprayers or rollers for their chosen sealer. They should also be willing to walk away from a day that looks marginal. If they are rushing to finish before a storm with no fallback plan, keep looking.
For those who want to do one call for prep and finish, look for companies that bundle pressure washing and paver sealing. The handoff between crews can create timing gaps. A single provider controls the schedule and owns the outcome, which makes accountability clearer.
Final thoughts from the field
The best timing after repairs respects two truths: water always wins, and chemistry has a pace. Let the substrate dry all the way through. Let joints cure without interruption. Pick a sealer that breathes enough for the conditions you have. Build weather buffers into your plan. When you do, your pavers reward you with a uniform, durable finish and fewer headaches over the years.
Whether you are handling the work yourself or bringing in a pressure washing service, slow down at the decision points. If a fingertip pressed to the surface pulls up cool damp, wait. If the joint feels tender under a flathead, wait. If the forecast wobbles, wait. Sealing is not a race to Saturday afternoon. It is the final coat on a foundation you just repaired. Done at the right time, it preserves that work for seasons to come.
Bulletproof Pavers
Address: 1523 Green Meadow Dr, Lutz, FL 33549
Phone: (813) 401-0693