Sealing Pavers After Pressure Washing: Best Practices
Paver surfaces age the way a front door does: slowly, then all at once. Color fades, sand thins, joints open, and weeds find their way up through the gaps. Pressure washing restores the look, but only sealing locks in the win. The trick is doing both in the right sequence, with the right products, under the right conditions. That is where projects either succeed for years or fail within a season.
I have washed and sealed thousands of square feet of brick, travertine, and concrete pavers in Florida’s Gulf Coast climate, especially around Lutz and the north Tampa suburbs. The heat, summer storms, and sprinkler overspray there will expose every weak link in your process. Done correctly, sealing buys you time and reduces maintenance by half or more. Done poorly, it traps moisture, turns milky, or flakes within months. pool deck paver sealing This guide walks through practical, field-tested best practices from the first rinse to the final pass of a sealer roller.
Why fresh cleaning matters to your sealer
Sealant bonds to pavers, not to chalky efflorescence, mildew, or leftover polymeric dust. Pressure washing strips that contamination and resets the surface energy so the sealer can wet out and penetrate. I’ve tested the same sealer, same day, on adjacent pads, one cleaned properly and slip-resistant paver sealer one skimmed. The cleaned pad absorbed evenly and flashed dry within minutes. The skimmed pad beaded in spots, stayed tacky, and dried unevenly. The result looked blotchy, and the topcoat failed first.
A thorough clean also opens pores in concrete pavers, especially older ones with micro-surface grit. That porosity is your friend when you want a penetrating coat, even if you plan to build a modest film for sheen. Skipping the reset is a false economy. If you are searching for a “pressure washing service” or “driveway pressure washing near me,” make sure your provider understands they are preparing for sealing, not just washing for curb appeal.
Surface evaluation before you start
Not every set of pavers wants the same approach. Clay brick, concrete pavers, and natural stone take up sealer differently. Clay is less porous, concrete varies by maker and age, and travertine can surprise you with open voids in some tiles and tight structure in others. On top of that, past treatments complicate things. You can pressure wash a coated surface all day and still be stuck with an incompatible base.
When I arrive on a project, I do three checks. First, water-drop test: a sprinkle of clean water should darken the surface uniformly if it is ready to accept sealer. If beads persist, there may be a prior coating or oily residue that needs chemical prep. Second, vinegar fizz test in an unobtrusive corner on concrete pavers, which can indicate active efflorescence. Third, a quick review of joints, edges, and low spots. Sunken pavers or hollow joints will return as failures under the sealer because water will sit and find the weak edges.
Dialing in the wash
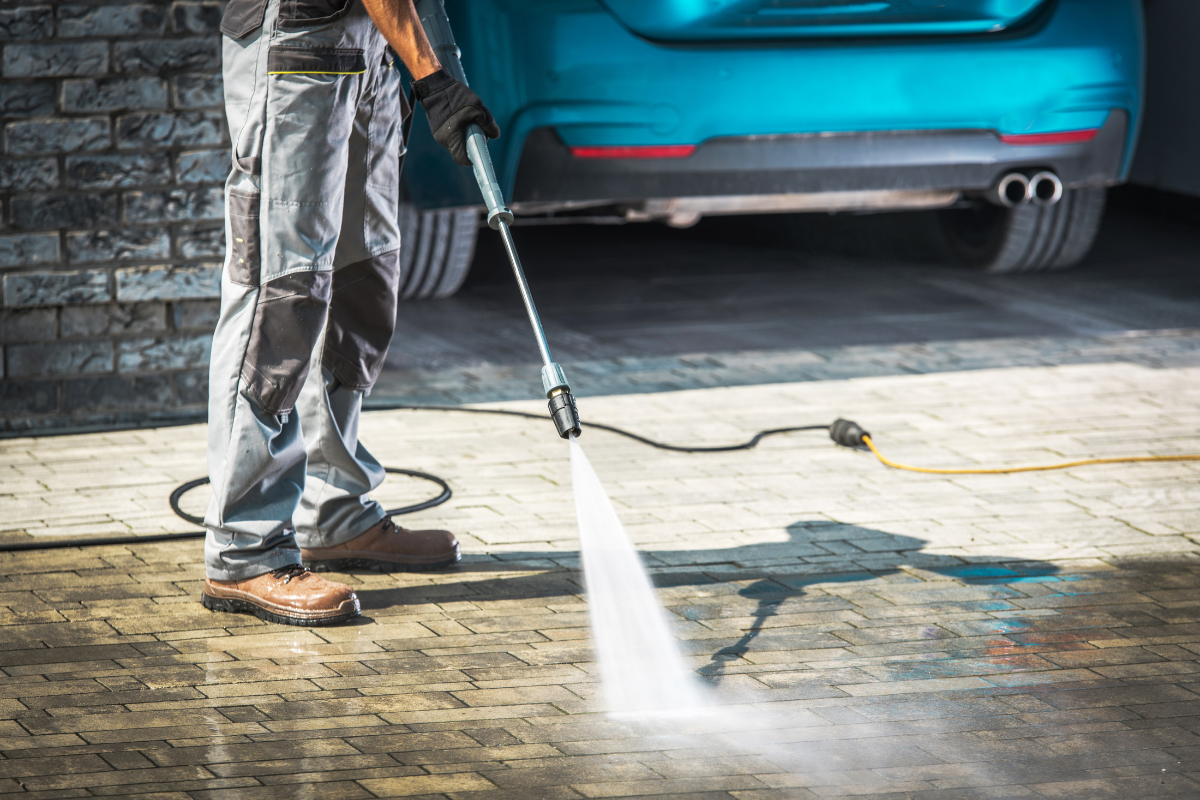
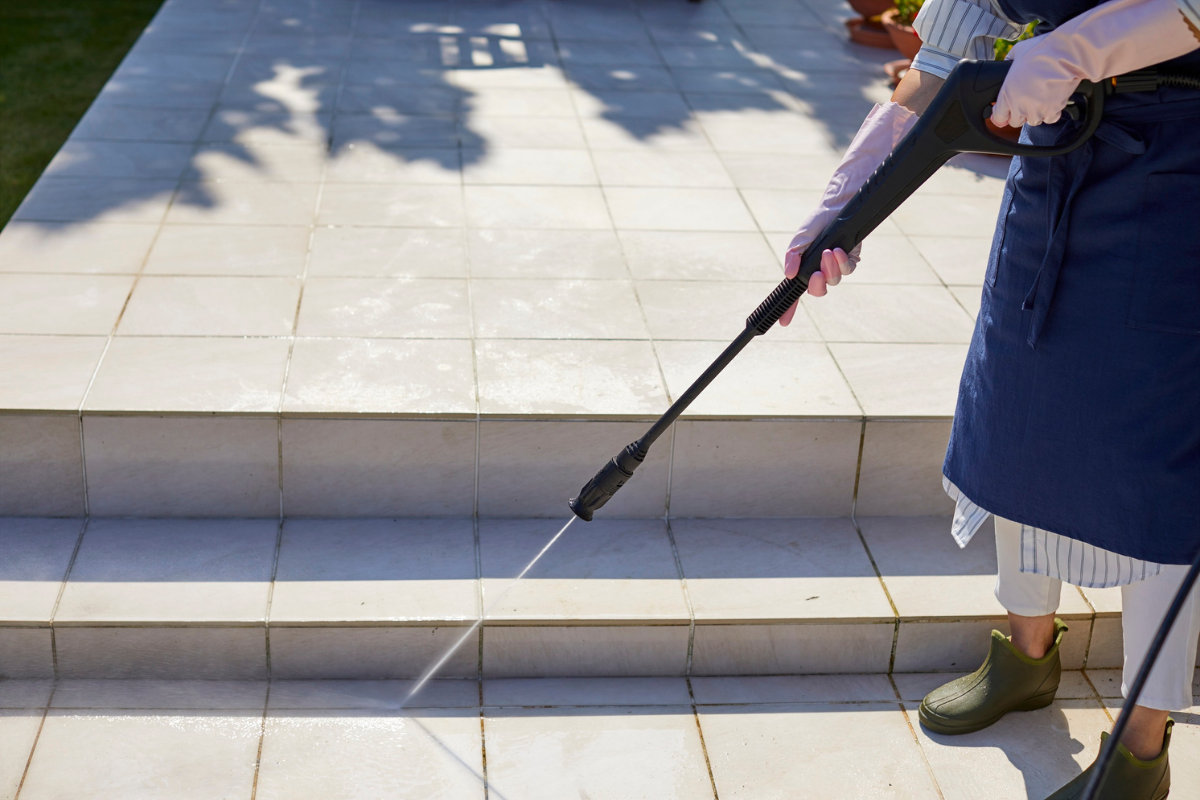
Good pressure washing respects the substrate. I rarely exceed 2,500 PSI on concrete pavers, and I work lower on clay or soft stone. A 15 degree nozzle or a surface cleaner with balanced jets prevents tiger striping. The goal is to remove bio-growth, atmospheric dirt, and loose joint sand without etching the face. For driveways near landscaping, I pre-rinse plants, then downstream a mild sodium hypochlorite mix for organic staining, followed by a thorough rinse to neutral pH.
Grease, tire marks, and rust need targeted cleaners, not more pressure. Degreasers emulsify petroleum that otherwise repels sealer. Rust removers designed for masonry pressure washer PSI and GPM prevent orange shadows from telegraphing through a clear coat. If you are hiring a “pressure washing service,” ask how they treat those stains. More passes with a wand is not the answer.
Letting it dry, and why patience pays
Moisture is the number one cause of milky sealer. A surface can look dry after a sunny afternoon and still read 12 percent moisture within the body. Wind, humidity, and temperature swing will widen or narrow your window. In Lutz or similar humid climates, I rarely seal the same day I wash. Twenty-four to forty-eight hours of dry, clear weather is the safe range. If the site is shaded or the pavers are thick, I add a day.
If you want to be precise, a pinless moisture meter tuned for masonry beats guesswork. Short of that, run the back-of-hand test at dawn. If the stone feels cool and slightly clammy, it is holding water. Sealer does not magically evaporate trapped moisture; it traps it. That vapor tries to escape, whitening the film, and sometimes delaminating it. Waiting one extra day costs nothing compared to stripping a failed coat.
Choosing the right paver sealer
“Paver sealer” is a category, not a single product. The right choice depends on the substrate, desired look, and environment. In Florida, I focus on water-based acrylics for most concrete pavers, urethane-modified versions for higher abrasion zones, and penetrating silane/siloxane for clay brick where a natural finish is preferred. Solvent-based acrylics deliver a strong gloss and deep color pop but raise odor, VOC, and recoat challenges, and they are more prone to whitening in humid conditions.
Gloss level is a taste decision. Matte or natural-look sealers darken slightly, block water, and resist staining without the wet look. Semi-gloss adds a subtle sheen, lifting color without looking plastic. High-gloss has its place around resort pools, though it shows scuffs sooner and can amplify slickness when wet. Slip resistance matters around water features. Some manufacturers offer traction additives like polymer grit that you can stir into the second coat, especially smart on pool decks.
Compatibility is non-negotiable. If you suspect a prior UV-resistant sealer solvent acrylic, layering a water-based acrylic over it can cause poor adhesion. Likewise, trying to put a solvent over a water-based coat may soften and craze the old film. When in doubt, do a small controlled test patch, let it cure 48 hours, and then do a crosshatch adhesion test with painter’s tape.
Joint sand, polymeric or plain?
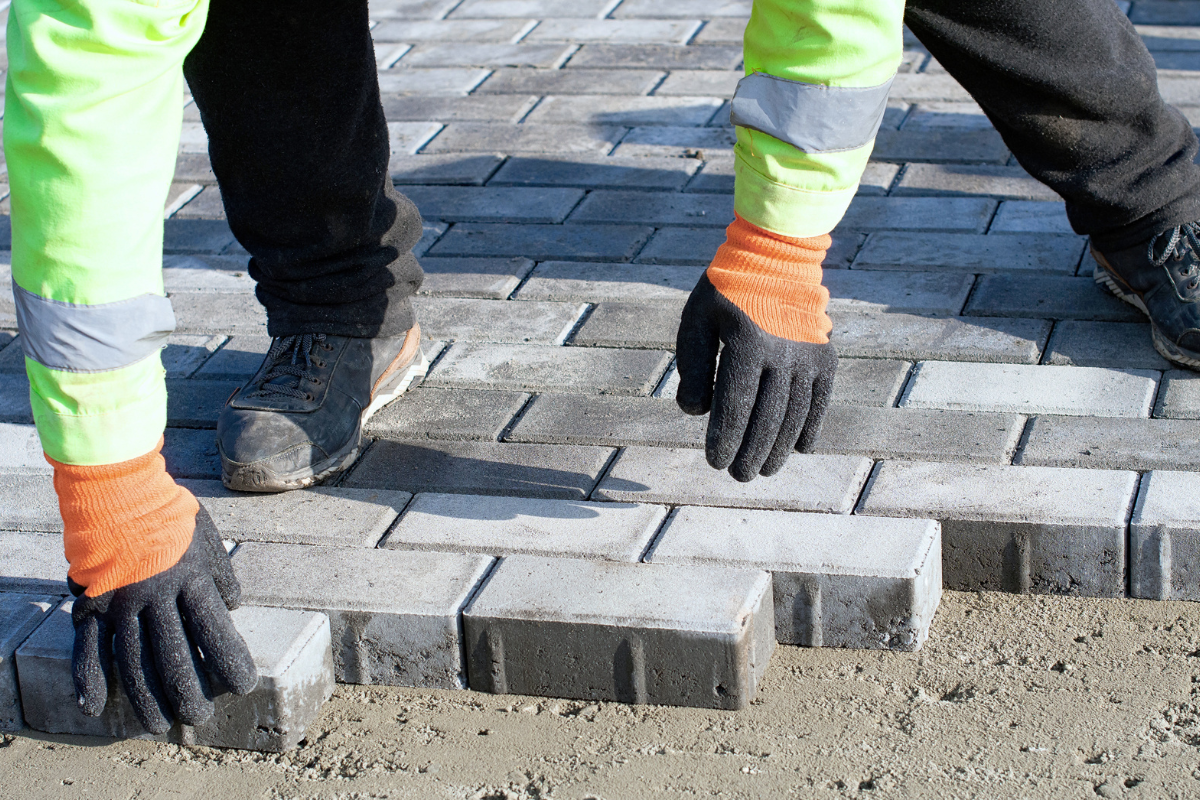
After washing, joints will be low. Re-sanding before sealing locks the system together and improves the sealer’s water management. Polymeric sand hardens in the presence of water, forming a crust that resists washout and weeds. It also benefits from sealing because the sealer ties the joint surface and paver shoulder.
That said, polymeric sand is not a cure-all. It demands careful installation: dry pavers, vibration to settle sand, thorough brooming, and a precise mist to activate. Over-watering creates a soft, gummy joint that stains the paver edges. Under-watering leaves dry pockets that crumble. If the site holds moisture or you are racing a storm, regular joint sand plus a penetrating sealer may be the better call. I use polymeric when the pitch is good, drainage is proven, and the client values lower weed pressure. On older driveways with wide, irregular joints, a high-quality kiln-dried sand under a film-forming sealer can outlast a poorly installed polymeric job.
Weather windows and job timing
You need a fair weather window from wash through cure. This is harder than it sounds in a climate with afternoon thunderheads. If there is a reasonable chance of rain within 12 hours of application, I push the schedule. Water on fresh acrylic can blush or pit the film. Temperature matters too. Ideal air and surface temperature range is usually 50 to 90 degrees Fahrenheit. Hotter slabs flash off solvent or water too fast, starving penetration. Cold slows coalescence, leaving a soft film.
Morning application works well because you can watch the first coat dry and make an informed call about the second. Midday sun on a dark driveway will spike surface temps above 120 degrees. If you must work then, shade sections with pop-up tents and keep tools cool. Wind is another variable. Strong wind accelerates evaporation and can carry overspray onto cars or glass. Control your boundaries with shields and careful roller work.
Application methods that avoid headaches
Spray, roll, or both. I like a low-pressure pump-up or battery sprayer for even distribution across textured pavers, immediately back-rolled with a 3/8 inch nap roller to push product into joints and knock down spray lines. Rolling alone works on small patios, though it tends to leave heavier product on high points. Sprayers must be clean and oil-free. A contaminated seal job is a nightmare to fix.
How much to apply comes down to porosity and product solids. Most water-based acrylics go on at roughly 200 to 300 square feet per gallon for the first coat on concrete pavers, then 300 to 400 for the second. Clay brick may be closer to 250 to 350 over two coats combined. Manufacturers’ labels are a starting point. Your test area is better. If you see puddles sitting on the surface, you are over-applying. If the surface looks dry within minutes and does not slightly darken, you are too light.
Two thin coats generally outperform one heavy coat. Thin coats cure more completely, reduce outgassing bubbles, and minimize slip. On a pool deck, I favor a first coat that wets joints then a second coat after 2 to 4 hours, when the first is dry to the touch and walks acceptably. If you can lift a heel print, wait.
Avoiding whitening, bubbles, and other common failures
Most failures trace back to moisture, incompatibility, or over-application. If you catch whitening early, gentle heat from the sun often clears a light blush. Heavier whitening may need xylene or a compatible solvent wash on solvent acrylics to reflow the film. Water-based products do not respond to xylene the same way. In those cases, you are sometimes forced to strip or allow natural wear before re-coating.
Bubbles show up when hot pavers outgas as they cool under a fresh film. Plan the work so you are not sealing a slab that has been baking all day. Perimeter pavers near south-facing walls are the worst offenders. Reduce this by sealing earlier, shading, or doing two thin coats instead of one heavy coat that traps more gas.
If a prior coating repels the new sealer, you will see fish-eyes or craters. Stop, wipe, and test a small spot with a cleaning solvent recommended by the sealer manufacturer. Sometimes a deglosser or a more aggressive cleaner can cut the contaminant. If not, you may need to strip or accept a penetrating sealer that will not build a film.
How sealing changes maintenance
Sealed pavers do not stop getting dirty. They get easier to clean. A garden hose and a soft scrub with a neutral cleaner removes most messes that would have required a pressure washer. Oil and grill grease wipe off if treated quickly. Tire marks release with far less drama. Algae still grows in shady, damp areas, but it anchors to the film instead of the stone. A quick application of a diluted algaecide or a mild bleach solution followed by a rinse keeps it in check.
Expect a recoat cycle of two to four years for most acrylic sealers on driveways, longer on patios with less traffic and UV. High-gloss films thin faster because they are more noticeable when scuffed. Penetrating sealers last five to seven years, but they do not offer the same color enhancement. If you search “paver sealing near me,” ask how each company defines maintenance. A good provider will offer a lighter maintenance recoat before complete failure, which saves money and avoids stripping.
Working around pools, planters, and delicate zones
Pool decks bring chemistry into play. Chlorine, salt, and stabilized pool chemicals splash out and dry on surfaces. Choose sealers with documented resistance to pool chemicals and UV. Rinse coping and waterline tile before you start sealing. Mask expansion joints where flexible sealants like silicone or urethane meet the pavers. Acrylic over those joints cracks quickly.
Near planters, the mix of irrigation water and fertilizer can stain. Sealers with good oil and tannin resistance help, but you still need to train the sprinklers not to soak the deck. If a zone constantly wets the same strip of pavers, expect more frequent maintenance. I have moved a head four inches and doubled the life of a seal in that corner.
Local conditions: Lutz and similar climates
In Lutz, afternoon storms in summer and dew-heavy mornings most of the year mean you must be picky about timing. The daily pattern is wash one day, sand and seal the next morning, and protect the paver repair and releveling surface through that evening. Shade from live oaks holds moisture longer than open sun on a driveway. If your project is under canopy, plan an extra drying day. During peak pollen season, an hour of yellow dust can settle on a just-washed deck. Blow it off before you seal, or you will embed a fine grit that dulls the finish.
Clients looking for “paver cleaning Lutz” or a “pressure washing service” in nearby communities should look for crews who talk this way about weather and site conditions. The more local experience they bring, the better your odds.
Color enhancement without slippery surprises
When clients ask for color pop, I show three test swatches: natural look penetrating, low-sheen film, and high-gloss film. On warm red and tan blends, even a satin acrylic can make the colors read richer without a wet look. On gray mixes, a little sheen goes a long way. High gloss makes everything bolder, but it can create reflectivity that reads slick. Traction additives work, yet they slightly cloud a high-gloss finish. On pool decks with young kids, I lean toward satin with a measured dose of traction additive in the second coat. On driveways, semi-gloss with no additive usually balances appearance and function.
When not to seal
There are projects where sealing is a bad idea. If the base is failing and pavers are pumping under footfall, a sealer will not stabilize the system. If efflorescence is active and heavy, treat the salt first and confirm it is slowed before sealing. If you cannot guarantee a weather window or the site is in permanent shade and stays wet, consider a penetrating sealer that breathes rather than a film that demands dryness. Finally, if you have a vapor drive issue, like a ground moisture problem under a covered lanai, consult a specialist before applying any film-forming product.
Hiring well, or doing it yourself
Homeowners can wash and seal successfully with patience and the right gear. Buy a reputable, labeled product with a clear technical data sheet, not a generic bucket. Practice on a small, inconspicuous area to set expectations for color change and sheen. Keep notes on application rate and conditions. Small mistakes are easier to adjust early than after the entire surface is coated.
If you prefer to hire out, the quality range is wide. Many companies advertise “washing and sealing,” yet only a few build their business around it. Ask pointed questions. What pressure and tips do they use? How do they handle rust and grease? What sealer brand and chemistry do they recommend for your pavers, and why? Do they return the next dry morning for a second coat or try to rush both coats in variable weather? Can they show projects at least a year old? People searching “paver sealing near me” often get a list of generalists. Look for someone who can speak to the details in this guide without bluffing.
A clean process, step by step, without shortcuts
- Rinse and pre-treat stains, then pressure wash with appropriate tips and pressure, using a surface cleaner where possible to maintain uniformity.
- Allow full drying time, verify with conditions or a moisture meter, then re-sand joints with polymeric or kiln-dried sand as suitable, compacting and cleaning dust thoroughly.
- Choose a compatible paver sealer for the substrate and look desired, test a small area, then apply two thin coats by spray and back-roll, watching conditions and cure.
Troubleshooting quick reference
- Whitening after rain on day one points to trapped moisture or over-application. Allow sun time, then consider a light recoat to even the appearance only if the base coat has cured and the product allows it. For stubborn blush on solvent acrylics, a gentle solvent refresh may reflow the film.
- Bubbles across a hot slab suggest outgassing. Next time, apply earlier, shade, or thin coats. Small bubbles often settle as the film cures; do not chase them with more product.
- Slippery surface usually comes from a heavy final coat. Add a traction additive in the second coat during your next maintenance cycle, or lightly abrade high-traffic stripes with a white or maroon pad.
- Patchy gloss can indicate uneven absorption or inconsistent coverage. Focus your second coat on the dry-looking zones, feathering transitions. On highly variable pavers, sometimes a third very light coat evens things out.
Cost, value, and what to expect over time
The cost of professional washing and sealing varies with size, access, and condition. In my region, a straightforward driveway and front walk might fall in the 1.50 to 2.50 dollars per square foot range for water-based acrylic, including cleaning and sanding, more for complex pool decks with planters and several sets of steps. DIY material costs land around 0.30 to 0.80 dollars per square foot depending on product and number of coats, not counting your time and equipment. A quality job, maintained proactively, extends the life of the pavers by limiting erosion and sand loss, reduces weeds, and keeps color closer to how it looked when you fell for it at the showroom.
Expect natural wear patterns. Tires polish the entry apron before the top third of the driveway. Shady corners collect mildew sooner. Pool steps scuff faster than the deep end sun shelf. Plan your maintenance by zone. Lightly refreshing just the high-wear sections every 18 to 24 months can postpone a full recoat for years.
Final thought grounded in practice
Sealing pavers after pressure washing is not a magic trick, it is disciplined craftsmanship. You control variables: substrate prep, dryness, chemistry, and weather. The rest is observation and restraint. Lay down thin, even coats on a clean, dry surface, at the right time of day, with a product suited to your pavers and climate. Whether you do it yourself or hire a team after searching for “paver cleaning Lutz” or “paver sealing near me,” insist on that process. The result is not just a brighter surface today, but a system that stays attractive and easier to live with for years.
Bulletproof Pavers
Address: 1523 Green Meadow Dr, Lutz, FL 33549
Phone: (813) 401-0693