Protect Your Pavers: Why Sealing Matters More Than You Think
Pavers look their best the day they go down, before sand tracks across them, before sprinklers mist hard water in the afternoon, before a single tire scuffs the surface. After a few seasons, the story changes. Color fades. Joint sand washes out. Mildew creeps in from shaded corners. Oil spots spread like bruises. I have watched homeowners spend good money on beautiful hardscapes, only to lose half the value in three to five years because the surface never got sealed or the wrong product was used.
Sealing is not about making pavers shiny. It is about preserving the structure and the look you paid for. Done well, sealing stabilizes joints, locks out stains, keeps weeds at bay, slows fading, and makes routine cleaning faster and safer. Done poorly, it traps moisture, turns cloudy, or becomes slippery, and always seems to need “just one more coat.” The difference comes down to preparation, product, and patience.
The daily enemies of a paver surface
Every region has its own blend of threats. In central Florida, where paver cleaning Lutz residents often request rises each spring, the culprit is usually a cocktail of UV intensity, warm rain, irrigated lawns, and sugar-rich sap that feeds a steady bloom of algae. In the Midwest, freeze-thaw cycles pry at the joints like wedges. Along the coast, salt crystals form in pores and chew at the cement matrix. Everywhere, automobiles and barbecue grills leave their marks. A few specifics help explain why sealing pays for itself.
Water is the main driver. When water carries minerals into the surface, those minerals dry as a crusty haze, typically called efflorescence. If water freezes inside the pores, microfractures happen. Water also transports fertilizer, mold spores, and oil residues that discolor. A good paver sealer reduces absorption dramatically, which interrupts all of those processes.
UV radiation breaks down pigments and the sand-binder polymers that keep joints tight. You see it as color washout on high-sun patios and chalky residue along edges. Sealing adds a sacrificial layer that takes the abuse instead of the paver faces.
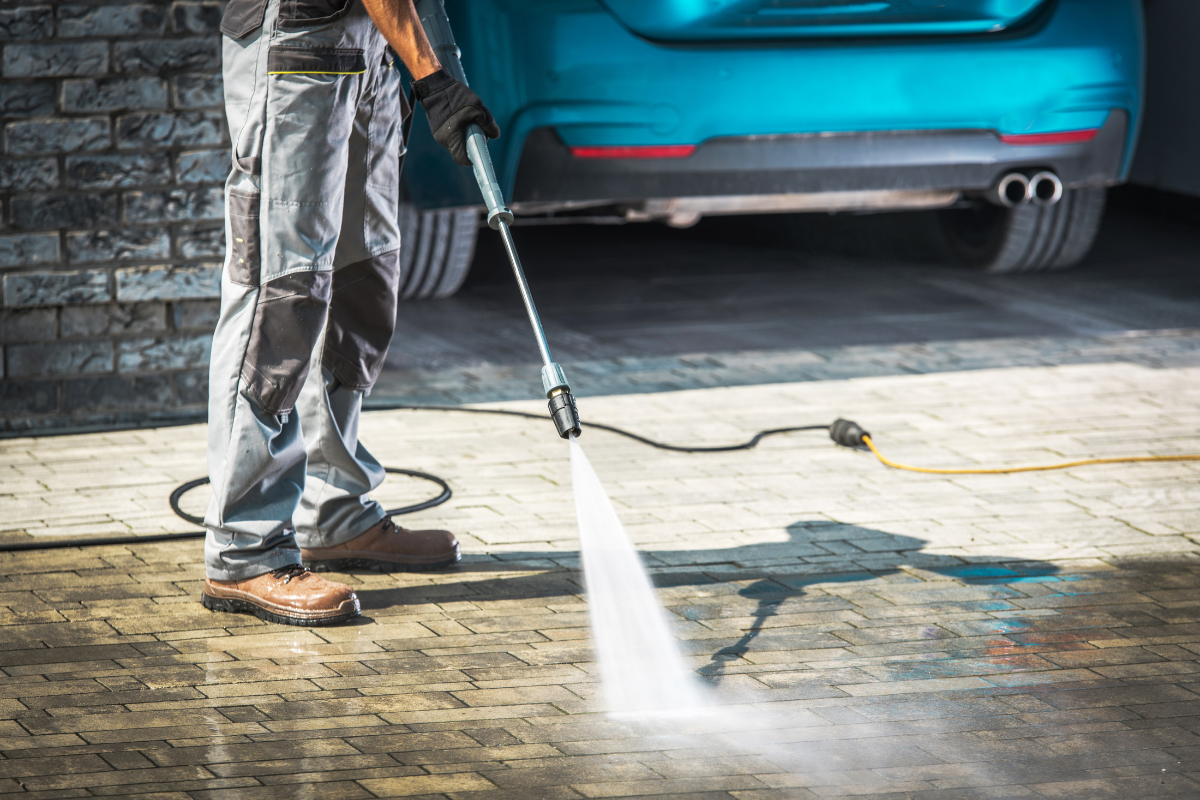
Traffic abrades the surface, especially on driveways where cars pivot. Without protection, sand loosens and the top fines dust away. That is why eco-friendly paver cleaner unsealed driveways start to look patchy after two or three years. A penetrating sealer hardens the top fraction and helps joint sand resist movement.
Organics get a foothold in damp, shaded areas. The green that shows up is not just a cosmetic issue. Algae and mildew hold moisture against the surface, which accelerates deterioration and makes the area slick. Sealing limits the moisture reservoir and gives you more time between cleanings.
What sealing actually does
It helps to set realistic expectations. Sealing will not make an old, crumbling patio look new. It will not fix poor grading or weak base compaction. It will not make oil magically disappear. A proper washing surface preparation and sealing process, however, can do the following:
- Reduce water absorption, typically by 80 to 95 percent depending on porosity and product, which cuts down on staining and freeze-thaw damage.
- Stabilize joint sand by bonding the top inch or so, reducing erosion and discouraging weed growth.
- Filter UV exposure and slow color fade, especially on high-chroma pavers.
- Enhance color depth for a richer look if you choose an enhancing sealer, or preserve a natural matte if you choose a non-enhancing product.
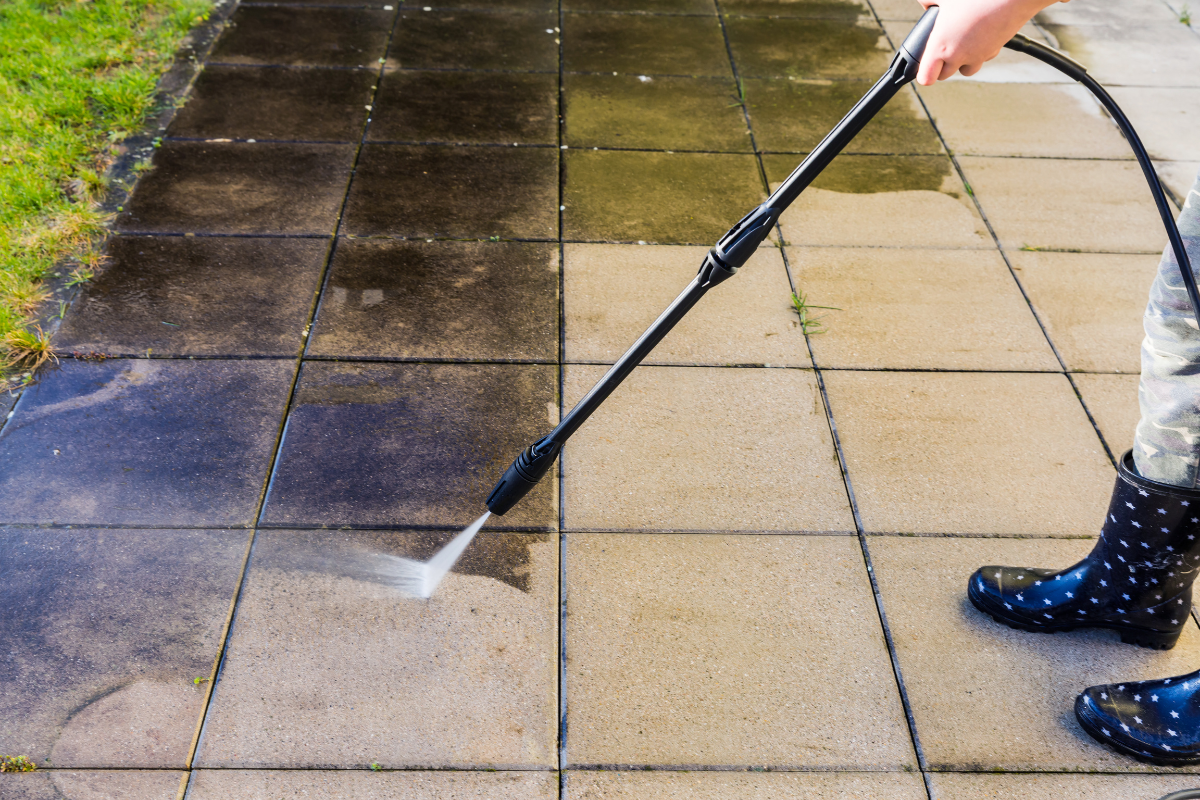
- Make routine pressure washing faster and gentler, since dirt and organics release more easily from a sealed surface.
On new installations, sealing can begin once efflorescence settles down, usually after 30 to 90 days. On older surfaces, it follows a deep cleaning, any necessary stain treatment, fresh sand, and thorough drying. The details in those steps separate a flawless result from a headache.
Cleaning is 70 percent of the job
Ask anyone who does this work day in and day out: sealing is the quick part. The prep is the grind. If your “paver sealing near me” search leads to a contractor who wants to seal the same day as a cursory rinse, keep looking.
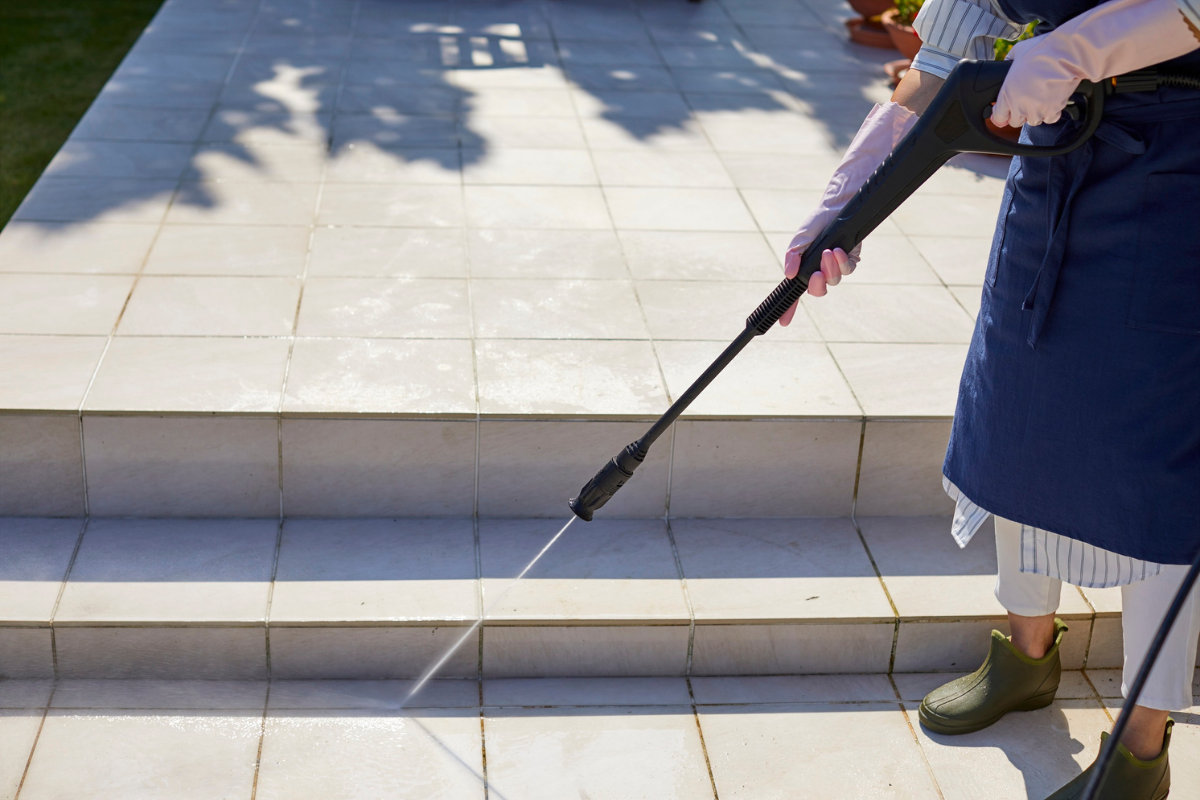
A professional pressure washing service brings a few advantages. First, they know how to set proper pressure and nozzles to avoid etching the paver face. For concrete pavers, 2,000 to 2,800 PSI with a rotating surface cleaner is typical, but the dwell time of detergents does more than raw force. For natural stone, pressure can drop considerably, sometimes below 1,200 PSI, to preserve the surface.
Second, pros have spot treatments ready. Rust from patio furniture needs oxalic or a blended rust remover. Battery acid burns from golf carts require neutralizing and, if severe, color repair. Oil benefits from enzyme-based degreasers that keep working for days. Irrigation stains respond to different acids than rust. If these issues are not addressed before sealing, you will lock them under a clear coat and live with them for years.
Third, they understand dry time. The temptation, especially during busy seasons, is to clean in the morning and seal in the afternoon. The result can be blushing or hazing as vapor tries to escape through fresh sealer. In humid climates, I plan for 24 hours of dry weather after cleaning, sometimes longer if the base is still damp. A simple moisture meter or tape test helps decide.
If you prefer to go the homeowner route for driveway pressure washing near me or DIY patio cleaning, use a gentle detergent to lift organics, rinse thoroughly, and allow complete drying. Avoid bleach-heavy mixes on colored pavers; they can lighten the surface unevenly. Bleach has its place in controlled dilutions for mildew, but it is not a degreaser and it does not remove mineral deposits.
The truth about joint sand and stabilization
Joint sand does more than fill the cracks. Properly compacted and stabilized sand locks the whole pavement into a single mat that resists shifting. After cleaning, you will likely need to top off the joints. Use washed, angular sand designed for pavers, not play sand that compacts poorly and washes out quickly.
Polymeric sand has become popular because it hardens when wet, then cures into a firm joint. It resists weeds and ant tunneling better than plain sand. It also adds complexity. Poly sand requires gentle, thorough compaction and an especially careful cleanup before activation. Any dust left on the surface can form a stubborn haze. Once installed, poly sand must be activated with a precise fog of water, not a flood. Too much water washes out binders; too little leaves joints weak.
An alternative is to use standard joint sand and rely on the paver sealer to lock the top layer. Many modern sealers are designed for this. You sweep in clean sand, compact, sweep again, then seal. The sealer wicks into the top half inch and bonds the grains. For high-traffic driveways or pool decks with heavy splash, I prefer this method, as it pairs well with annual maintenance. For wide joints or steep slopes, a high-quality polymeric product still wins.
Choosing the right sealer for your surface
Not all paver sealer products behave the same. I break them into three categories: penetrating, film-forming, and hybrids. Your choice depends on the material, the look you want, and the conditions on site.
Penetrating sealers soak in and leave no visible film. They are typically breathable and have excellent water repellency. Silane or siloxane formulations fall here, sometimes blended with fluoropolymers for oil resistance. They preserve a natural look. For natural stone or high-traffic areas where slip is a concern, penetrating products are the safest. They will not deepen color much, and they rarely turn white. They excel at keeping water out and making cleaning easier, though they do less to intensify color.
Film-forming sealers sit on top as a thin layer. Acrylics are the most common, available in water-based and solvent-based versions. They can add a satin or gloss finish, deepen color, and help stabilize sand. The trade-off is potential for whitening if moisture gets trapped, and a slightly higher slip risk if over-applied. In shady, damp courtyards, I use caution with high-gloss acrylics. In well-drained entries and driveways, a low-sheen acrylic can make colors pop without introducing maintenance problems.
Hybrids try to do both, penetrating while leaving a modest film. Many of the best water-based products today fall in this group. They provide strong water repellency, moderate color enhancement, and joint stabilization with fewer odor and flammability concerns than strong solvents. I have had good results with hybrids on concrete pavers in sun-exposed driveways where clients want a subtle color boost and faster dry times.
A few practical notes based on experience:
- If you see persistent water wicking up from the base, pick a breathable penetrating sealer. It will forgive minor moisture.
- For heavy oil exposure, such as near a mechanic’s workshop or a busy driveway with older vehicles, look for a product with fluorochemical additives. Read the technical data sheet, not just the label.
- Avoid cheap, high-solids acrylics on porous pavers. They tend to sit too heavy and, after a season, flake or blush.
- Always test a small area, especially with color-enhancing products. Clay pavers, tumbled concrete, and certain stones respond differently.
The rhythm of washing and sealing
You can think of paver maintenance as a rhythm, not a single event. Washing and sealing go hand in hand. The first cycle sets your baseline. After that, light maintenance prevents big problems.
A typical professional routine looks like this. Day one is inspection, pre-treatment of stains, and a measured pressure washing. If the site has significant algae or mildew, a controlled post-wash treatment might be used to neutralize spores. Joints are re-sanded once the surface is dry, usually the next morning, then sealed. In humid climates, I plan two days for an average 1,000 to 1,500 square feet. In arid regions, you might compress the schedule.
Recoat intervals vary. For penetrating sealers that focus on water repellency, expect two to five years depending on sun and traffic. Splash from pools and irrigation shortens the timeline. For film-forming products, the schedule often sits at 18 to 36 months, with the caveat that high-sheen finishes show wear earlier. On driveways with frequent turning, you might touch up wheel paths sooner than the rest.
If you are searching for pressure washing near me or a local pressure washing service, ask about their maintenance plans. The best companies will offer an annual light clean with a mild wash to refresh the surface and inspect joints. A quick, low-pressure clean keeps algae from getting a foothold, reduces the need for harsher chemicals, and lengthens the life of the sealer.
Slip resistance, shine, and safety
One of the loudest complaints I hear about sealing is slipperiness. The concern is valid but manageable. Penetrating sealers do not appreciably change traction. Film-forming sealers can, especially when applied too thickly or in glossy versions over smooth pavers. Pool decks are where mistakes show up first.
Manufacturers offer anti-slip additives, usually fine polymer or silica grit, that mix into the top coat. They create a microtexture you barely see but can feel underfoot. The trick is even distribution. Hand-rolling with a 3/8-inch nap roller, working in small sections and maintaining a wet edge, helps avoid clumps. Sprayers can apply evenly if the operator keeps a consistent arm speed and overlap. On steps or ramps, I increase the additive slightly.
Shine is subjective. Where clients want a “wet look,” I aim for a low to mid sheen rather than full gloss. It lifts the color without giving that plasticky glare. Remember that sunlight and dust soften gloss over time. What looks assertive on day one often mellows to a pleasant satin in a few months.
Weather windows and patience
Sealing has a small weather window that shrinks in humid regions. The surface must be dry. The air should be above the product’s minimum temperature, often 50 to 55 degrees Fahrenheit, and below its maximum, typically around 90. Direct blazing sun on a hot day can flash dry the top and trap solvents or water below. Wind helps solvents evaporate but can also carry dust. Read the technical guide, then use judgment.
I learned this the hard way on a coastal patio we rushed before a forecasted storm. We sealed late in the day, just as humidity spiked. The next morning, a milky haze sat over fifty square feet in the shadiest corner. The fix meant solvent re-emulsification and careful scrubbing, a half day that erased any schedule advantage. Now I would rather reschedule a job than gamble the finish.
Troubleshooting common issues
Clouding or whitening usually comes from trapped moisture or over-application. On water-based acrylics, gentle warming and time sometimes let the moisture escape. On solvent-based products, a light xylene or solvent wash can re-open the film and let vapor out. You need experience to avoid creating lap marks. When in doubt, call the manufacturer’s technical support with your lot number and conditions.
Peeling or flaking happens when a film-former loses adhesion, often over old sealer that was not properly cleaned or compatible. If you are recoating, run a small test patch. If parking lot pressure washing it wrinkles or peels, you need to strip the old product. Stripping is messy, slow, and often requires several passes. This is where a professional earns their fee.
Sticky surfaces indicate incomplete cure, often from cool or humid conditions. Most water-based sealers polymeric sand reach a dust-free state within hours and traffic ready within a day, but full cure can take several days. Keep heavy furniture off during that period. Solvent-based products can remain soft longer in shade. Sometimes additional air movement and time solve it. Resist the urge to add more sealer; that compounds the issue.
Joint failure shows up as cracking or washout. Either the sand was not compacted thoroughly before sealing, or water flow is too aggressive. Check downspouts and slopes. You might need to add small drains or redirect irrigation. Re-sanding with a more angular sand, followed by a careful sealing pass, usually restores integrity.
The real cost and how sealing pays back
Sealing adds a line item to your hardscape budget. For a typical residential driveway of 800 to 1,200 square feet, professional washing and sealing ranges widely based on region and condition. Expect something like 1.50 to 3.50 dollars per square foot if major stain work, stripping, or repairs are needed, with simpler projects falling lower. The ongoing maintenance, a light clean and touch-up coat, usually costs less.
Compare that to replacing pavers or living with a faded, stained surface that drags down curb appeal. Real estate agents notice sealed hardscapes because they photograph better and signal care. In my experience, a properly sealed and maintained paver installation keeps its color and crisp edges for at least twice as long as an unsealed counterpart under the same conditions.
DIY can be cheaper up front, but factor in tools, cleaners, joint sand, and a quality product. The biggest DIY risks are surface etching from aggressive pressure, haze from polymeric dust, and uneven sealer application. If you are inclined and patient, you can achieve a good result. If your schedule is tight or the surface has headaches, the value of a seasoned crew becomes obvious.
How to vet a contractor without becoming an expert
Finding a reliable paver sealing company is part technical, part social. The good ones talk about prep more than product. They walk the site, point out trouble spots, and explain what will or will not come clean. When you search paver sealing near me or pressure washing near me, skim past the loudest ads and read the reviews that mention follow-up and problem solving.
Ask a few targeted questions:
- What cleaners will you use on rust, oil, and irrigation stains, and how will you protect nearby plants?
- Do you re-sand joints, and if so, with what type of sand? Will the sealer stabilize it?
- What sealer do you recommend for my paver type, and can you show a small test area to confirm color?
- How long will the area need to stay dry and off-limits, and what is your weather policy for rescheduling?
- If whitening or adhesion issues occur, what is your remediation plan?
You do not need a technical lecture, just confident, specific answers. A contractor who is cagey about products or rushes you to sign is a red flag.
Regional quirks worth noting
In Florida communities such as Lutz and surrounding areas, irrigation overspray mixes with warm shade to feed algae year-round. For paver cleaning Lutz homeowners should plan semi-annual light washes even with a good sealer. Choose breathable products that tolerate occasional dampness and consider a mild biocide treatment once or twice a year to keep organics from nesting in joints.
In coastal zones, salt spray and high winds mean more abrasive grit on surfaces. Here, favor penetrating or hybrid sealers with strong water repellency and plan for a firm joint. Rinsing with fresh water after storms helps.
In freeze-prone climates, the main battle is against water intrusion. Deep joint sand compaction and a high-quality penetrating sealer make the biggest difference, along with grading that moves meltwater away quickly.
A simple homeowner care routine that works
You do not need to become a maintenance expert to keep sealed pavers looking sharp. A light rinse with a garden hose every couple of weeks clears dust and pollen. Once a quarter, or after heavy pollen strings and leaf drop, use a low-pressure wash with a mild detergent. Keep fertilizers and lawn chemicals off the surface as much as possible, and blow debris out of corners where moisture lingers.
For oil drips, place an absorbent material like kitty litter or an oil-sorbent pad immediately. Let it sit several hours, then sweep and use an enzyme cleaner. The faster you act, the better the outcome even on sealed surfaces. Avoid harsh acids unless you know the stone or paver chemistry and have a plan to neutralize thoroughly. Most mineral stains respond to targeted cleaners more safely than to a generic acid wash.
When not to seal
There are rare cases where sealing is not the right move. Very soft, flaking stone can absorb a sealer unevenly and look blotchy. Pavers that sit over a poorly drained base may pump moisture continuously, which will haze most film-formers. On historic brick with delicate fired faces, a heavy acrylic film can trap salts and accelerate spall. In these edge cases, a breathable penetrating sealer or a maintenance-only plan focused on gentle cleaning may serve better. Good judgment means recognizing when a product solves a problem and when it merely covers symptoms.
The bottom line
Sealing is a protective strategy, not a cosmetic afterthought. It turns a porous, stain-prone surface into one that resists water, wears evenly, and cleans up easily. It keeps joint sand where it belongs and color where you want it. It does require careful preparation and an honest understanding of the site conditions. That is why pairing a thorough pressure washing with the right paver sealer matters.
Whether you hire a professional or tackle the work yourself, give the prep the time it needs, let the surface dry fully, test your product, and apply with restraint. A thin, even coat that soaks where it should and breathes where it must will outlast a thick layer every time. Do that on a reasonable schedule, and your patio or driveway will look and function the way it should, year after year.
Bulletproof Pavers
Address: 1523 Green Meadow Dr, Lutz, FL 33549
Phone: (813) 401-0693